The Read Only feature in Excel, helps avoid accidental or intentional changes in Excel. Other users and authors who wish to edit the files have to alter it from read-only to editable. An Excel file can be marked Read Only for reasons including being saved in a locked USB flash drive when another user is working on the same document you are working on, it has been saved as Read Only, or it has been corrupted. This article outlines all details of the Read Only feature and explains how to disable read-only in Excel 2016.
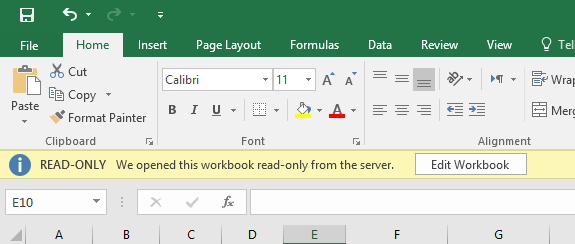
Excel users would want to disable the Read Only feature so that they can make changes to the file, and allow authorized access by multiple users. Below are 5 different cases to disable read-only in Excel 2016.
- Case 1: Excel 2016 file is made read-only by "Mark as Final."
- Case 2: Excel 2016 file becomes read-only recommended by "Save As."
- Case 3: Excel 2016 file is restricted modify and read only
- Case 4: Excel 2016 Worksheet and Workbook structure is locked and read only
- Case 5: Excel 2016 file is on Read Only Status
Case 1: Excel 2016 file is made read-only by “Mark as Final.”
Some users, through the File Menu on Excel, may have Marked the document as Final hence making it a Read Only file that cannot be edited. To disable Read Only on a file that has been set Mark as Final, follow the procedure below.
Step 1: Open the Excel File.
Step 2: Locate the Edit Anyway button under the ribbon and click it.
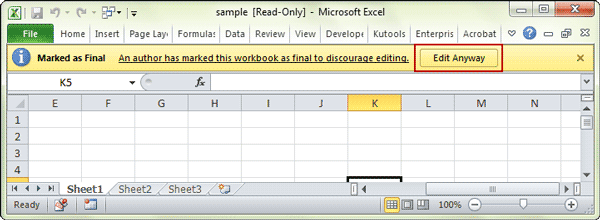
It is as simple as that.
Note: It usually has a yellow background a warning icon to its far left and the words ”An author has marked this workbook as final to discourage editing” next to it.
If you Excel file prompts you to enter open password while you don't remember, try unlock Excel sheet in this post.
Case 2: Excel 2016 file becomes read-only recommended by “Save As.”
One of the advantages of Excel 2016 read only is, if you have an Excel file with a password to Modify, the file can only be opened in Read only if you don’t have its password. However, the changes the user makes can only be saved if they save the workbook with a different name or in a different file location. To do so, use the Save As feature as shown in the procedure below.
Step 1: Open the Excel workbook file in question, key in the password for write access and click OK.
Step 2: In the ribbon, click File > Saves As and choose a location, suitable for you, on your hard drive to save the workbook.
Step 3: In the Save As dialog box, Click the drop-down arrow next to the Tools button located at the bottom of the dialog box and Select General Options.
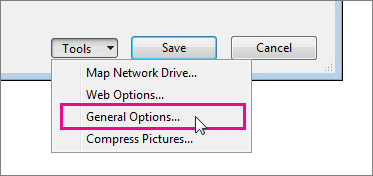
Step 4: Delete the password under Password to modify options that appears In the General Options dialog box and check the Read-only recommended check box, then click Ok.
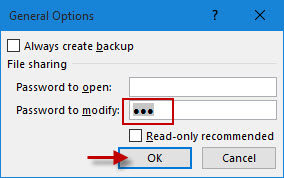
Step 5: You’ll be directed back to the Save As dialog box. Click Save to save the Excel file.
With this procedure, you will have disabled read only on that workbook.
Case 3: Excel 2016 file is restricted modify and read only
An Excel file that cannot be modified and requires a password for access can still be accessed. Want to change Excel 2016 SharePoint read only? Follow the procedure below.
Step 1: Open the Excel workbook file in question.
Step 2:Click the Read Only button. This will open the file in Read Only mode.
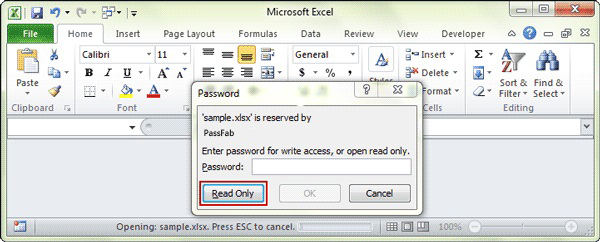
Step 3: In the ribbon, click File > Save As then proceed by clicking the Save button in the Save As dialog box.
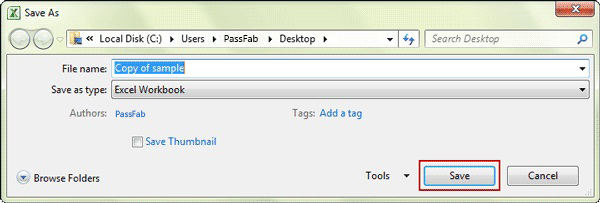
Step 4: Click Ok to save the workbook. This method ensures that you replace the original read only file.
Case 4: Excel 2016 Worksheet and Workbook structure is locked and read only
In certain situations, the author of the document can lock the cells and protect the workbook hence preventing users from making changes to it. Trying to edit the worksheet will have them end up with the dialog box shown below.

To resolve this, follow the procedure below.
Step 1: Open the Excel file.
Step 2: In the ribbon, click the Review Tab, then click Unprotected Sheet and key in the password when prompted to do so.
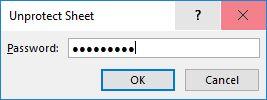
Step 3: Save the document to remove Read Only.
Case 5: Excel 2016 file is on Read Only Status
Read Only can also be removed directly from File Properties via Windows File Explorer. Follow the procedure below.
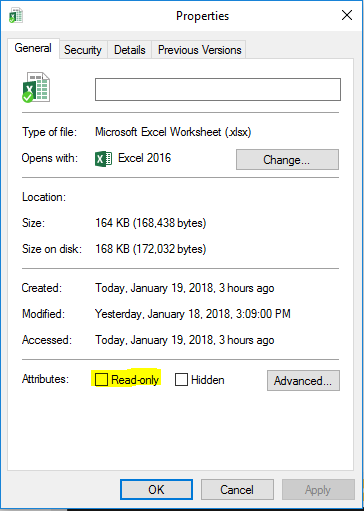
Step 1: Navigate to the Excel file in File Explorer, right-click it then click Properties.
Step 2: Uncheck the “Read only” checkbox Under Attributes section.
Step 3: Click Apply then OK.
Extra Tip: How to Recover Forgotten Excel 2016 Password
PassFab for Excel is a great tool that allows users to recover passwords for Excel 2016 files by using multi-core CPU and GPU acceleration. To use this software to recover your forgotten Excel password, follow the procedure below.
Step 1: Download install and run this software on your computer.
Step 2: To import the encrypted file click the Add button located next to the Encrypted file option.
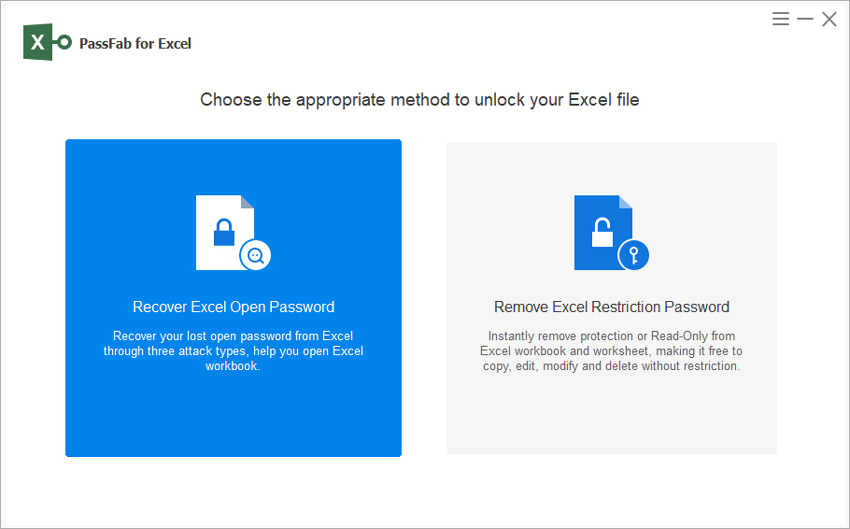
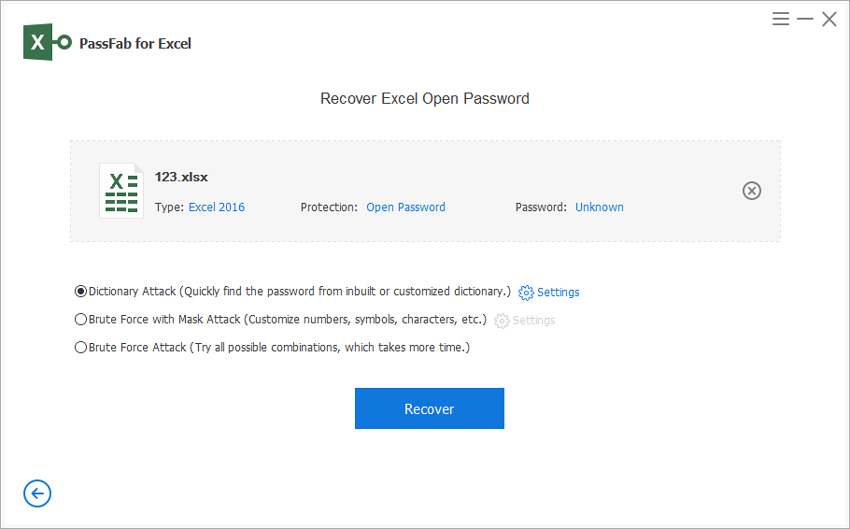
Step 3: Select one of three attacks that will be used to recover the password: dictionary attack, brute force with Mask Attack or Brute Force Attack.
- A. To use Dictionary Attack, download a dictionary or import it if you already have one.
- B. Brute Force with Mask Attack allows you to whatever you remember about your password.
- C. Brute Force Attack uses a combination of all possible characters to unlock your password.
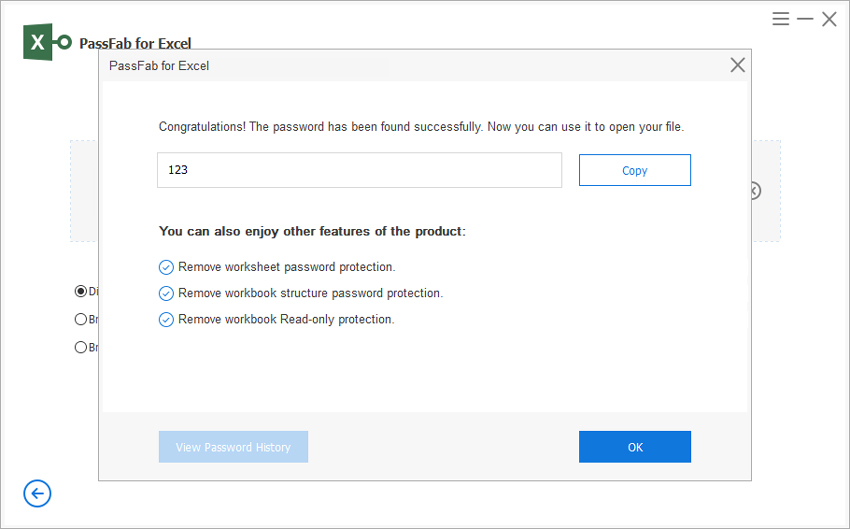
Step 4: Click Start and wait for the password to be recovered by this Excel password recovery tool.
Step 5: Now the recovered password will be opened easily. Now you can remove Excel 2016 password with it.
Conclusion
Disabling Read Only on any Excel file is simple and can be done by following any of the procedures listed above. Some of the methods require that you key in your password. In case you have forgotten it, we recommend using PassFab for Excel to unprotect Excel 2016 without password.