Check the following steps on how to use PassFab Duplicate File Deleter.
Step 1: Download and Install it
Install and launch PassFab Duplicate File Deleter to your Windows-based computer. And you will see the main interface as follow.
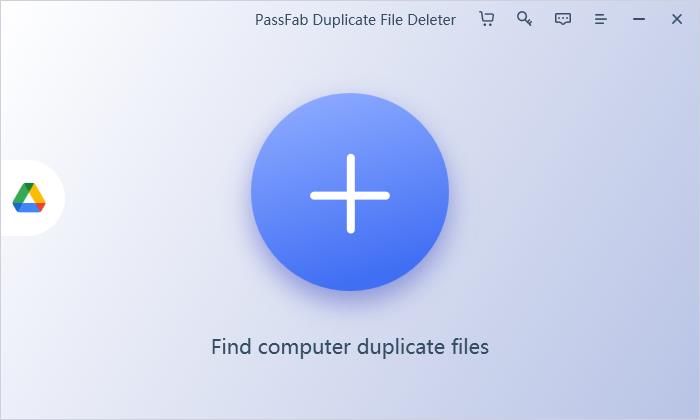
Step 2:Add Scanning Folders
Click to add the folders you want to deduplicate. And you will see the folders you have added are on the left side of the interface.
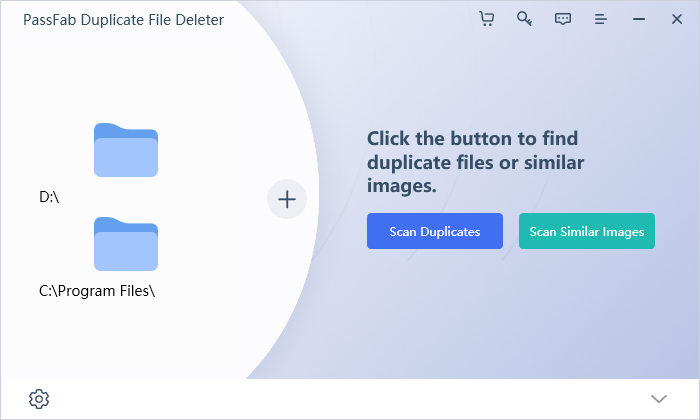
Step 3: Set Scanning Mode
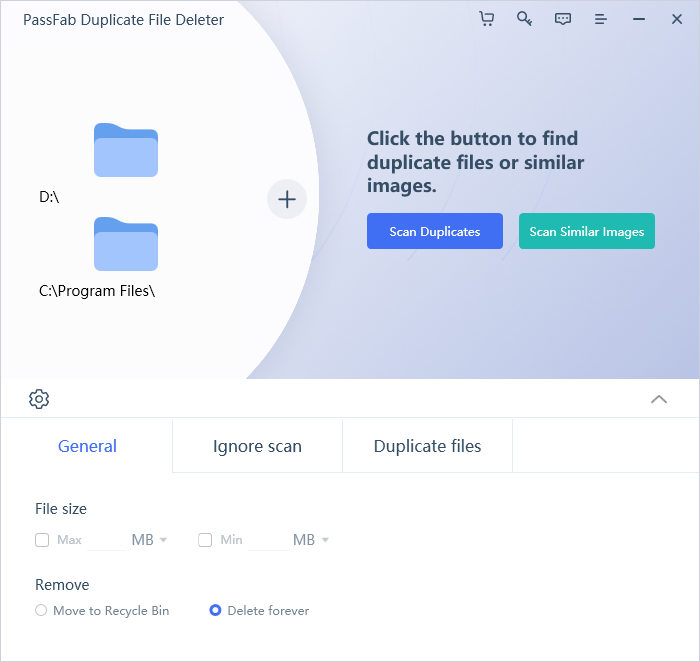
Before scanning the files, you can click the or the at the bottom to set the scanning mode. It divides into 3 modules: General, Ignore Scan and Duplicate files. Each module contains several settings. Here is a detailed guide on how to set the scanning mode. You can choose the mode about your circumstance.
Setting 1: General
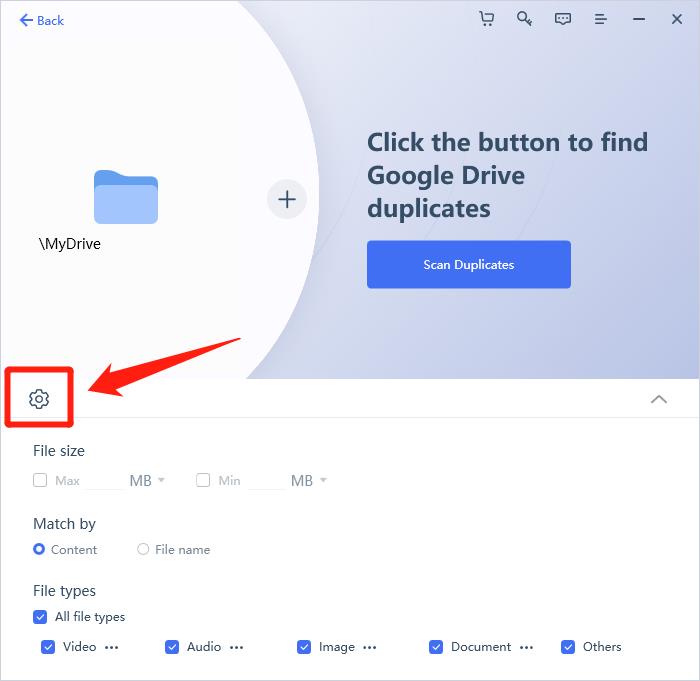
- File size Radio Button): Screen out the duplicate files according to the size.
- Remove (Radio Button): Move the duplicate files to the recycle bin or delete the duplicate files directly.
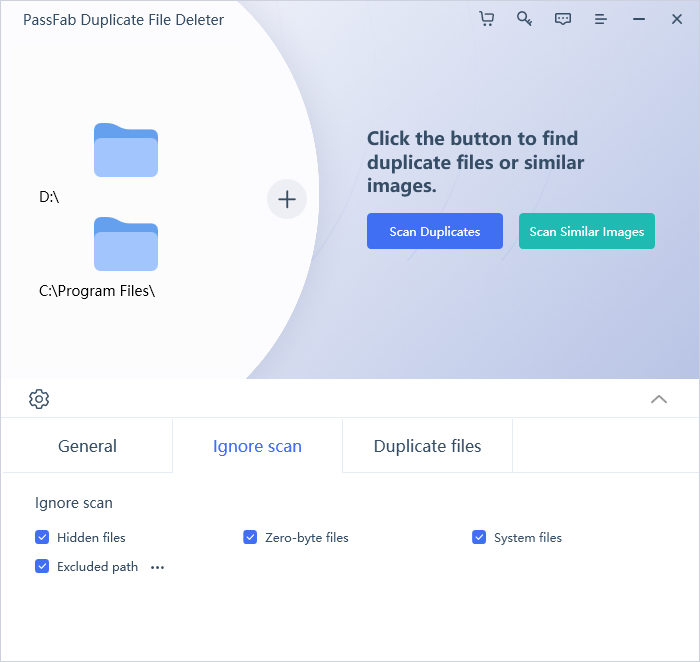
Setting 2: Ignore Scan
- Hidden Files : It is a folder or file which filesystem utilities do not display by default when showing a directory listing.
- System Files :It refers to
- (1)The Windows folder under the partition where the System Disk is located;
- (2)Program Files, Program Files (X86) folders at all levels under all partitions;
- (3)Format includes: a;so;h;pch;c;hpp;h++;cpp;c++;m;swift;java;class;idea;py;rb;php;css;js;json;lib;dylib;dll;ocx;pth; db;rpl;hds;framework;build;plistinfo;def;properties;proofingtool;bup;ar;tmp;hg;vsd;xsd;xslt;xsl;lproj; entitlements;xcconfig;sparsebundle;dsym;cer;crt;
- Zero-byte Files:It is a computer file containing no data. It has a length or size of zero bytes.
- Exclude path:Can customizably add folders or entire partitions that don’t need to be scanned.
Setting 3: Duplicates files
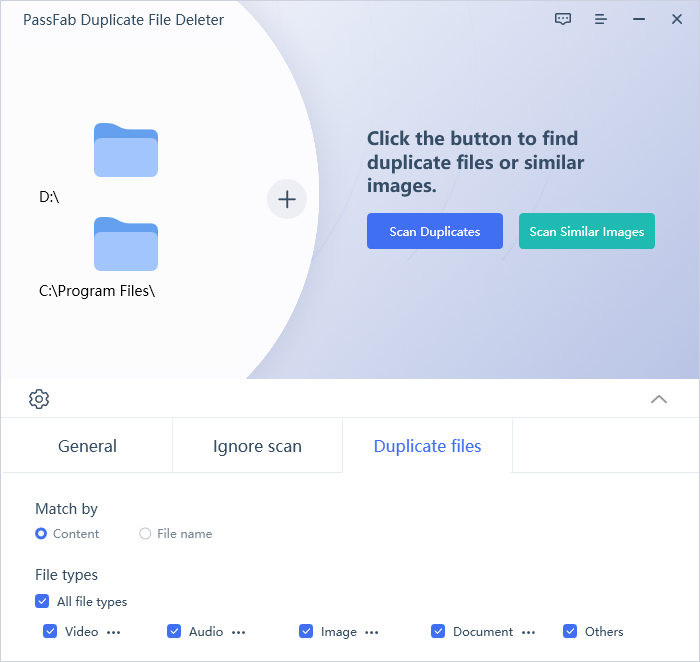
As for the module of the duplicate files, it supports all kinds of files, you can set the scanning way is according to [Content] or [File Name]. Also, you can set the specific file types that you want to deduplicate in the box.
Step 4: Delete Duplicate Files
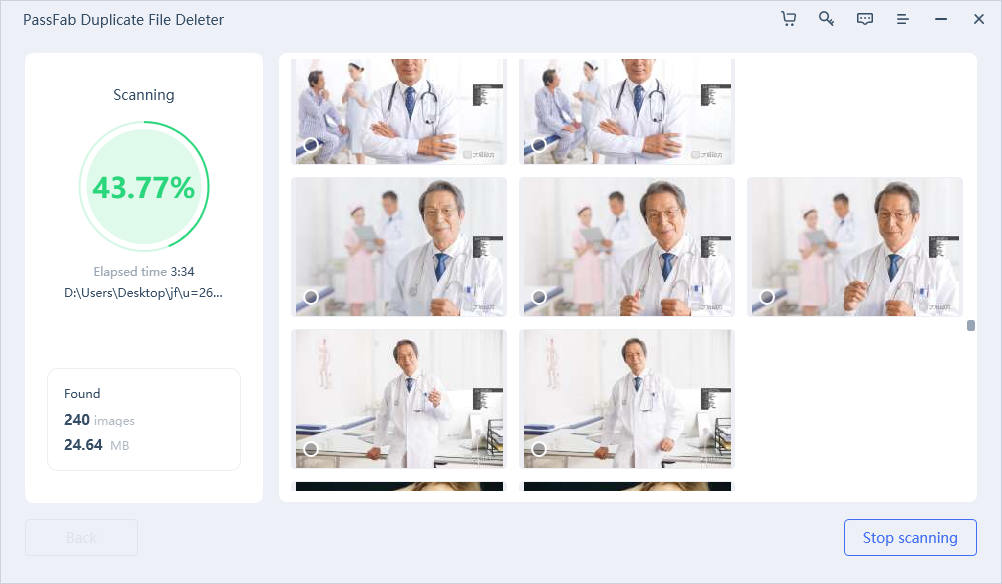
After selecting the scanning mode you can click the bottom [scanning duplicate] and start scanning. Wait for a while until the scanning process is finished. And if you want to stop the process, you can click [Stop scanning] in the bottom right corner.
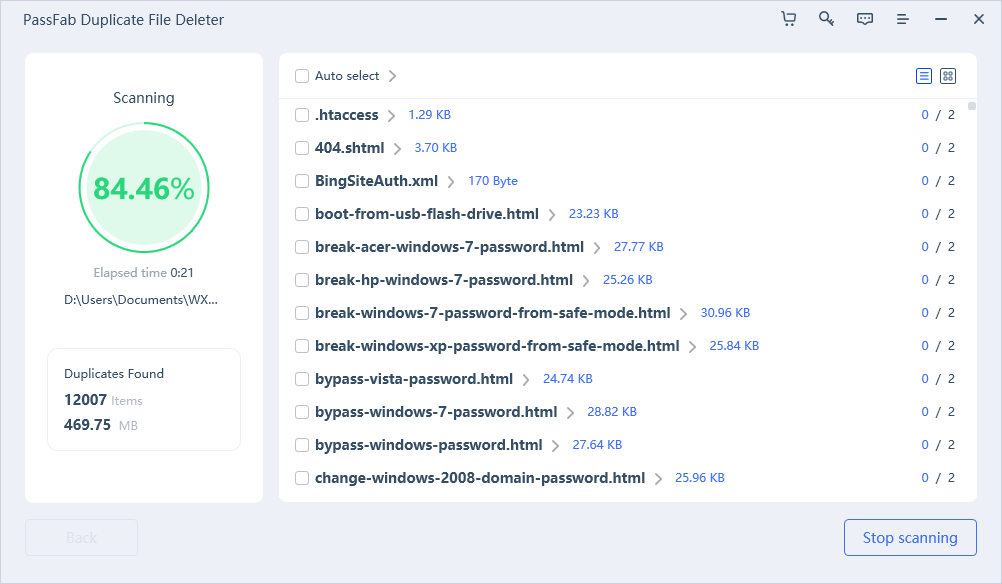
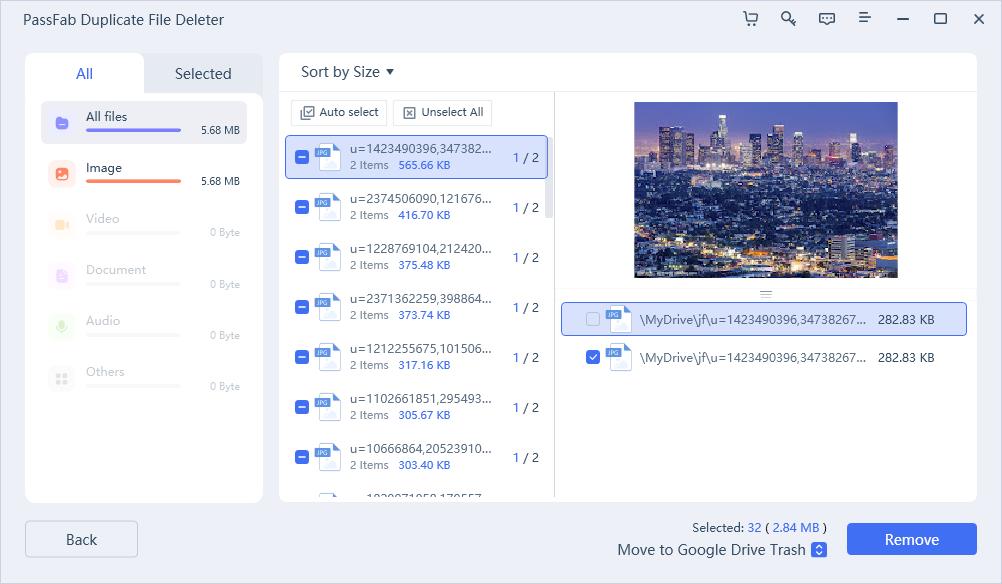
After a minute, you can see the duplicate files are presented on the left side. Here are several tricks that can help you select the files you want to delete.
- Click the in each line, you can see the specific duplicate files;
- Click the to preview and compare the files;
- Click the to change into the view mode;
- It’s easy to switch between [quantity] and [size] to check the total volume or size of the files;
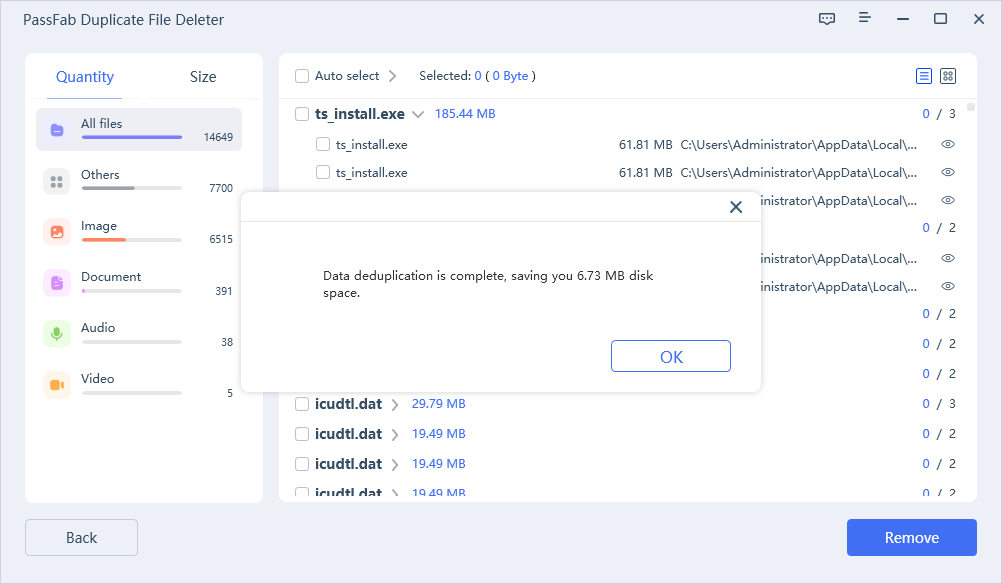
After choosing the files you want to delete, click [Remove]. And there will be a warning for you to make sure if you want to delete the files or not. If you want to delete them, click [Yes].
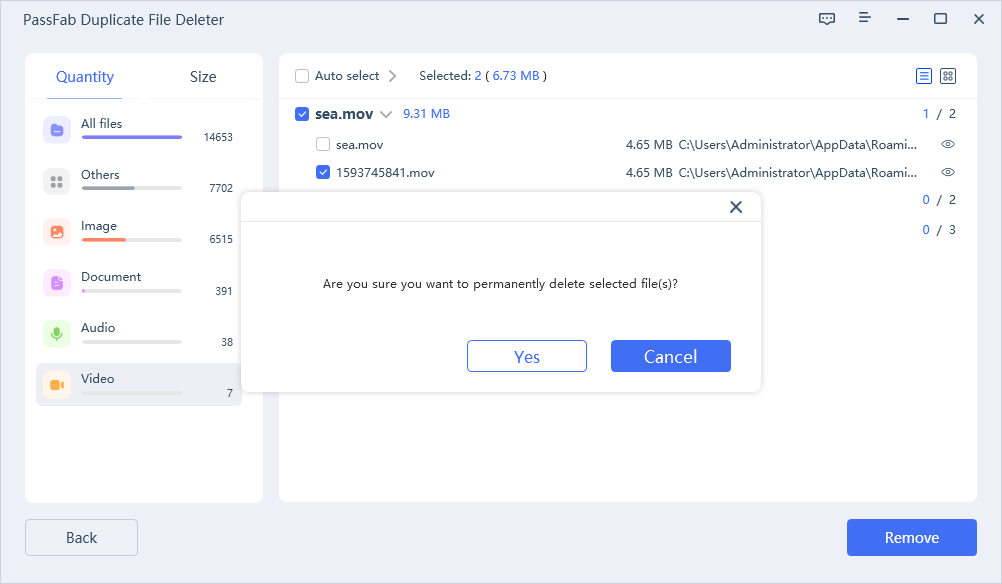
Wait for a while and the chosen duplicate files will be deleted successfully. Click [OK] and you can go on deduplicating or log out of the software.
Step 4(2): Scan Similar Images
After selecting the scanning mode you can click the bottom [Scan Similar Images] and start scanning. Wait for a while until the scanning process is finished. And if you want to stop the process, you can click [Stop scanning] in the bottom right corner.
After a minute, you can see the similar images are presented on the right side. Here are several tricks that can help you select the images you want to delete.
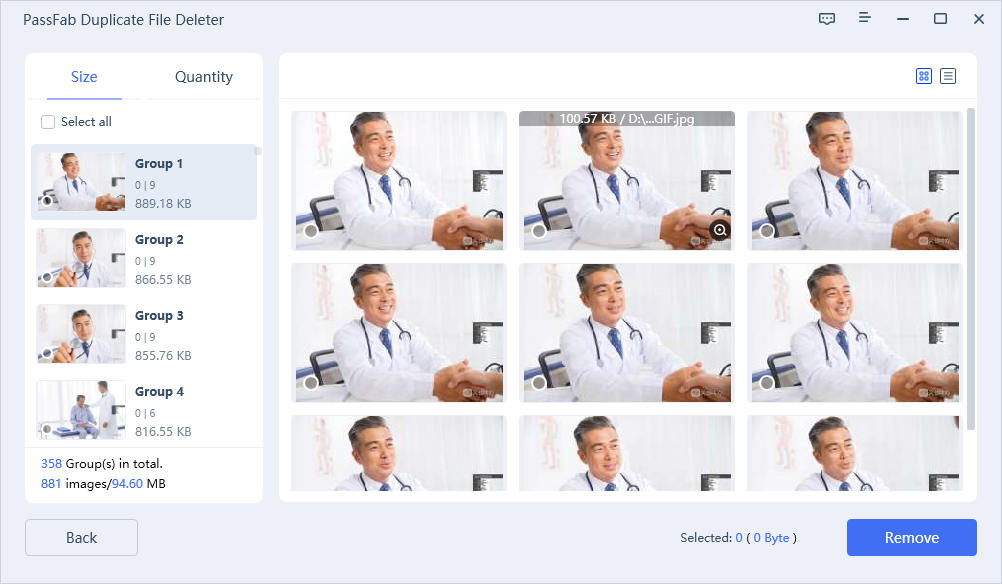
- In the left toolbar, you will see the group of similar images which can be sort out according to [Size] or [Quantity];
- Click the group number to go to the specific place of the pictures;
- On the right side, you can slide the mouse to view all the similar pictures, one-click the picture to select it, double-click to open it, hover the mouse over the picture to view the path information or zoom in on it.
- In the top right corner, you can click the to change into the List Mode in which you can see the name, Document size, last modification date, File path and pixel dimensions.
Then click [Remove] and you can delete similar images successfully.
Step 4(3): Scan Duplicates on Google Drive
PassFab Duplicate File Deleter also helps to remove duplicates on Google drive. Let’s see how to find out the duplicates on your Google drive and make your file well-organized.
1. Select Google drive and authorise it
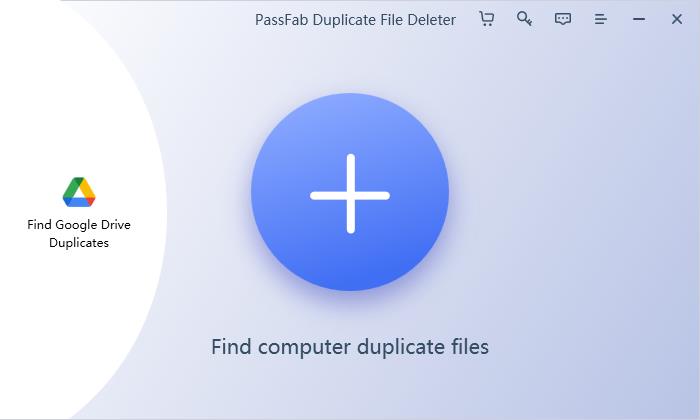
Hover over the icon on the left and click “ Find Google Drive Duplicates”. There will a browser to be opened to ask for permission to access to your Google drive.
2. Choose the folder to scan
After authorisation to Google drive successful, choose the folder on Google drive and click “ OK” to start scanning duplicates.
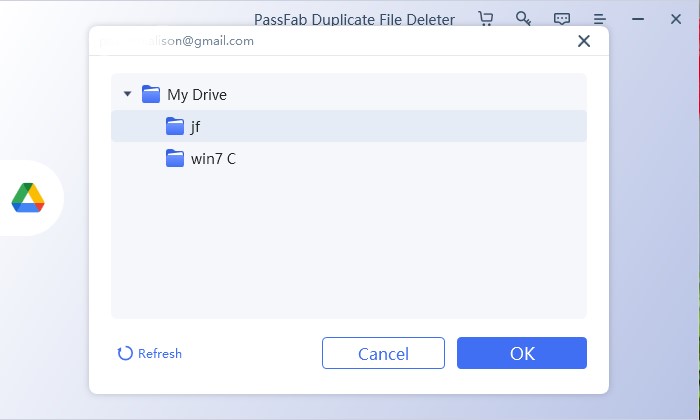
3. Start scanning the folder on your drive
After locating the folder you want to scan on Google drive, click “ Scan Duplicates” to start automatic scan.
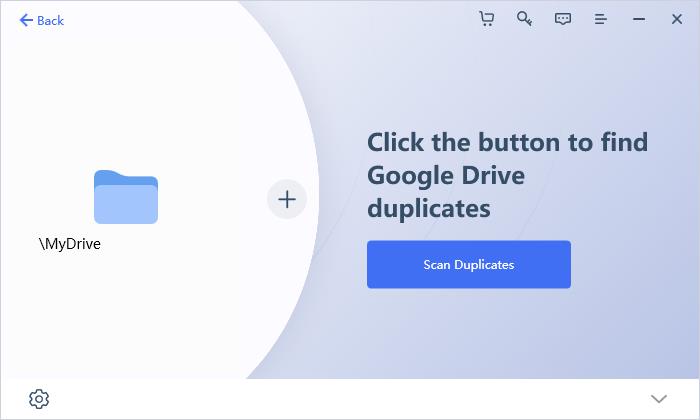
You can click the setting icon on the bottom left corner to custom your scan settings.
4. Delete the duplicates on Google Drive
All the duplicate files will be presented as groups. You can preview the duplicates by clicking each file. You can select and click on target files one by one. Click “Auto select” will bulk select the same set of duplicate files and the latest version of the file will be kept. Choose move to google drive trash or delete forever in the bottom right corner and click “Remove” to delete the duplicates on your google drive.
Note:
This feature is currently available on Windows PC only.
