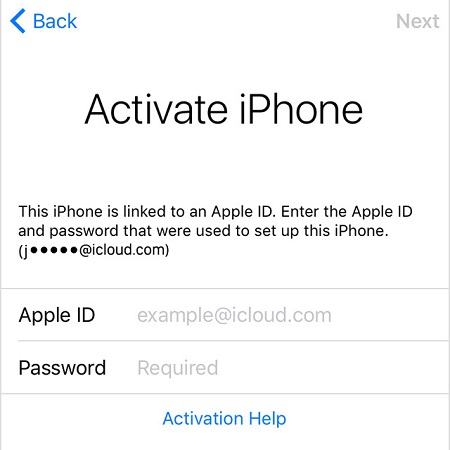
Apple ensures robust security for its users through the iCloud Activation Lock. This iCloud lock can be triggered when you purchase a second-hand iPhone or iPad without the previous owner signing out of their Apple ID. It may also occur if you've forgotten your own Apple ID password.
Fortunately, the iCloud DNS bypass method offers a temporary solution, allowing limited access to the device without needing the original Apple ID credentials. In this guide, we'll explain what the iCloud DNS server is and walk you through how to bypass the iCloud Activation Lock with DNS step-by-step.
- Part 1: What is iCloud DNS Bypass?
- Part 2: How to Bypass iCloud Activation Lock with DNS
- Part 3: How to Bypass iCloud Activation Lock without DNS
- Part 4: iCloud DNS Bypass vs. iCloud Activation Removal
Part 1: What is iCloud DNS Bypass?
DNS stands for Domain Name System. As mentioned earlier, iCloud DNS Bypass is a temporary method used to bypass the iCloud Activation Lock on iPhones, iPads, and iPods. It works by redirecting the device’s DNS settings to a different iCloud DNS server with relevant IP addresses, granting limited access without requiring the Apple ID password.
For example, after a factory reset, iPhone and iPad devices send activation requests to Apple’s server. The server processes the request, and if Find My iPhone is enabled or the iCloud Activation Lock is authorized, the device will prompt you to enter your Apple ID login details to unlock it. However, by using the iCloud DNS bypass method, you can redirect the activation request from Apple’s server to a different DNS server, allowing you temporary access without the Apple ID credentials.
Although changing DNS server for iCloud bypass is considered a viable method to bypass the iPhone or iPad Activation Lock, it’s important to note that there are some limitations. Let’s take a closer look at the pros and cons of using the iCloud DNS bypass.
Pros & Cons of iCloud DNS Bypass
Pros
- Free and Easy to Use: The method is free to use and doesn’t require purchasing any software or services.
- Temporary Access to Certain Features: It allows you to access limited functionality on the device, such as browsing the internet with Safari, using Wi-Fi settings, and activating FaceTime.
- Simple Method: The DNS bypass method only requires you to change the DNS settings on the device during the setup process.
Cons:
- Temporary Solution: Bypassing iCloud DNS is not a permanent fix. It only provides temporary access to limited features of the device without unlocking it fully.
- Not Always Reliable: Apple may block the iCloud DNS bypass on iPhone and iPad in future updates, making it less effective.
- No Full iCloud Unlock: It does not remove the iCloud Activation Lock. You will still need the original Apple ID and password to fully unlock the device and use it without restrictions.
- Does Not Work on All iOS Versions: This method does not support devices running iOS 10 and higher.
Part 2: How to Bypass iCloud Activation Lock with DNS
After learning the basic info and the pros and cons of iCloud DNS bypass, now let’s delve into how to bypass the iCloud Activation lock using DNS:
- Turn on your device and choose your language & Country.
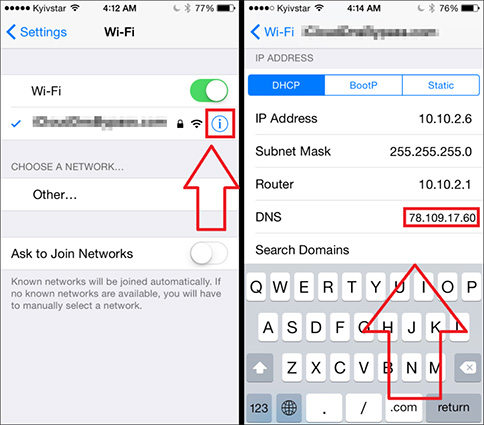
Go to WiFi page, you can see a small "i" icon, click on it, enter the details, and find the "enter DNS" server option.

Try to set up a proxy address below according to your location.
USA: 104.154.51.7
Europe: 104.155.28.90
Asia: 104.155.220.58
South America: 35.199.88.219
Australia and Oceania: 35.189.47.23
- Tap "Save" and then pick the Wi-Fi that you want to connect.
Now click back instead of clicking on Next, and you will be on the lock-screen. Scroll down and locate "Activation Help" on the bottom screen to use some features on your iPhone.

However, you can not access all features of your device, and that's why the name iCloud DNS bypass Crash comes to our mind. It allows you to get access to all features. So, let's start to bypass icloud activation.
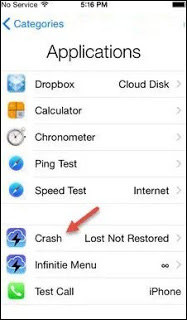
At first, click on the menu, select "Applications", and then find and choose the "Crash" option in the application area. After its selection, your device restarts automatically.

- When it restarts after turn-off, select your language and Country and tap home-screen, enter into the wifi settings, or tap on the "I" button, find and tap config proxy.
- Now, go to menu and tap on HTTP proxy and clear them. After it, add 30 emojis in the server field and use 8888 as the port number, and tap to save it. Click on Back>Next until you are not on the unlock screen.
Part 3: How to Bypass iCloud Activation Lock without DNS
If the iCloud DNS bypass method is unavailable to you due to an incompatible iOS version, or you’re looking for a more permanent Activation Lock bypass, there's an alternative: using PassFab iPhone Unlocker. This tool allows you to unlock your device without changing iCloud DNS server.
PassFab iPhone Unlocker offers a faster, easier, and more reliable way to bypass the iCloud Activation Lock without requiring the Apple ID password. In addition to unlocking the iCloud Activation Lock, it also supports removing Screen Locks, Screen Time Passcodes, and MDM (Mobile Device Management) locks. If you're interested in this method, follow the detailed steps below:
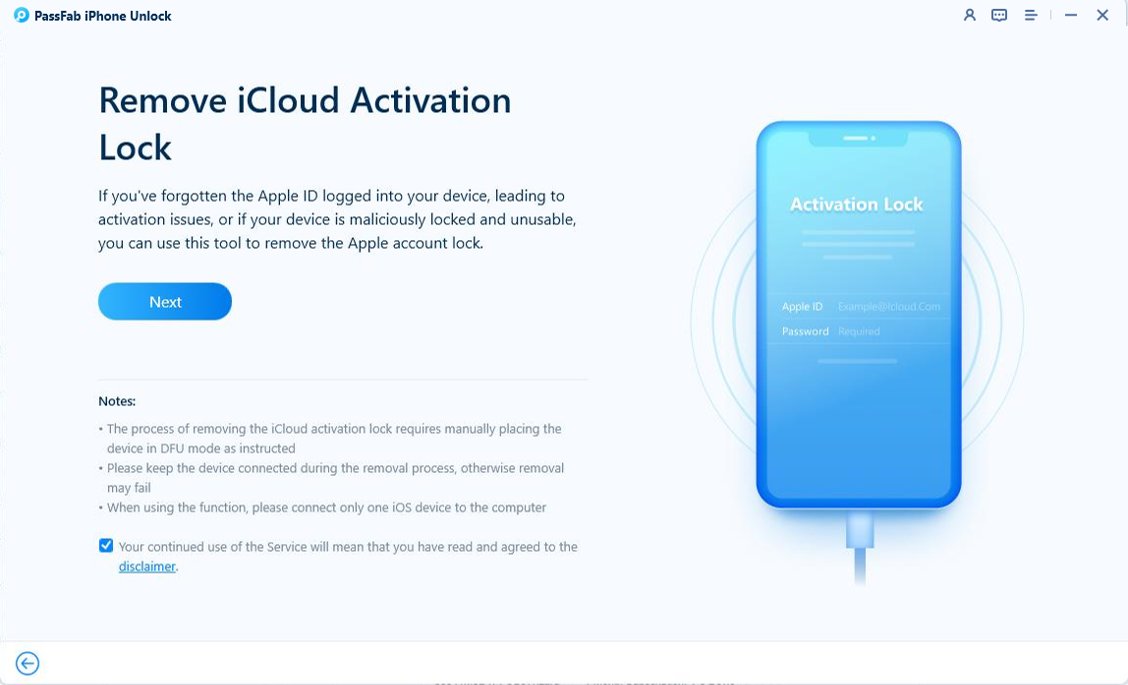
First, download and install PassFab iPhone Unlocker. Then connect your device to the computer and launch the software. On the interface, select Remove iCloud Activation Lock.

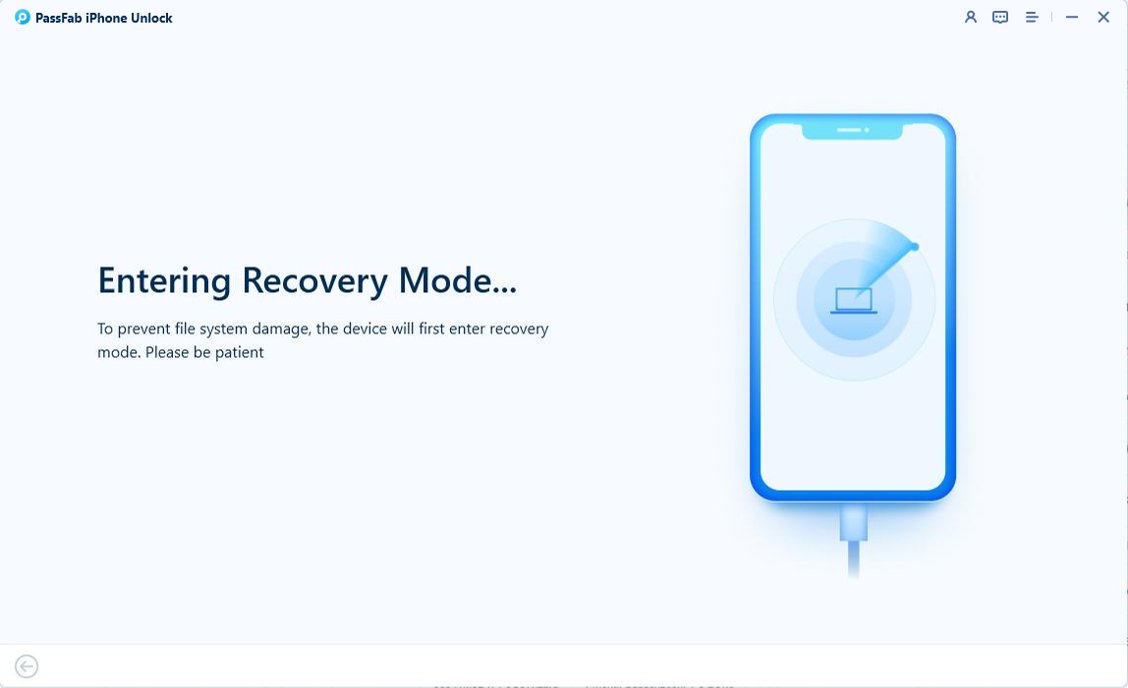
Once your device is successfully recognized by the program, you can see the following screen. Click Next to continue and you will be guided through to enter Recovery Mode.


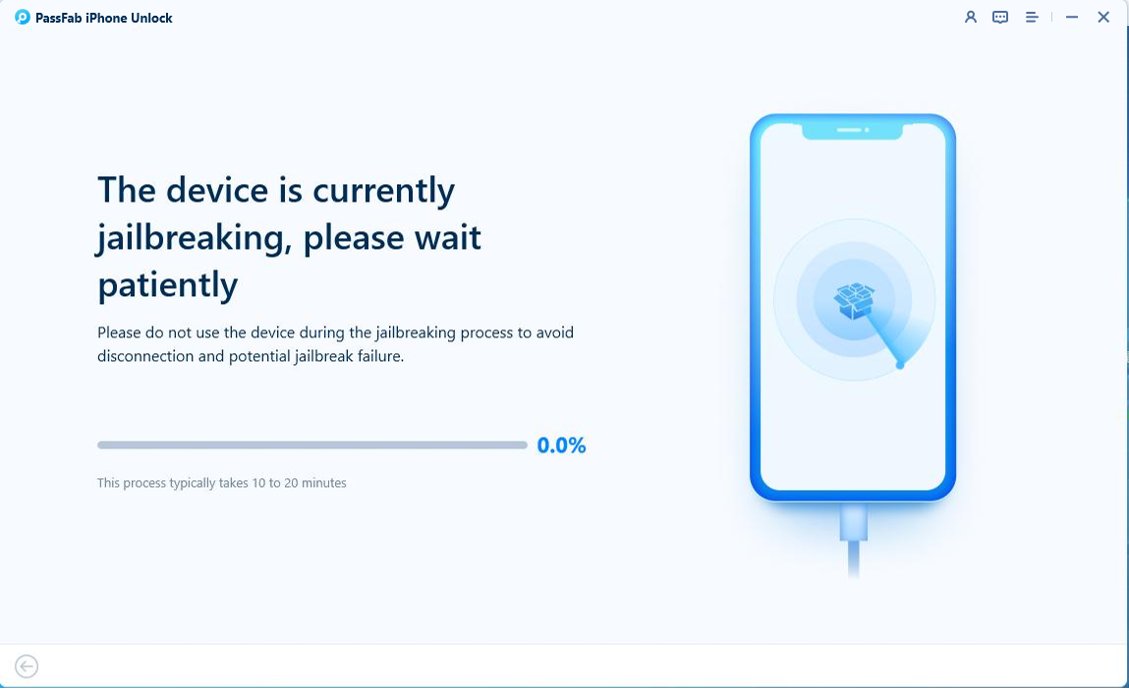
Then follow the onscreen instructions to jailbreak the device.

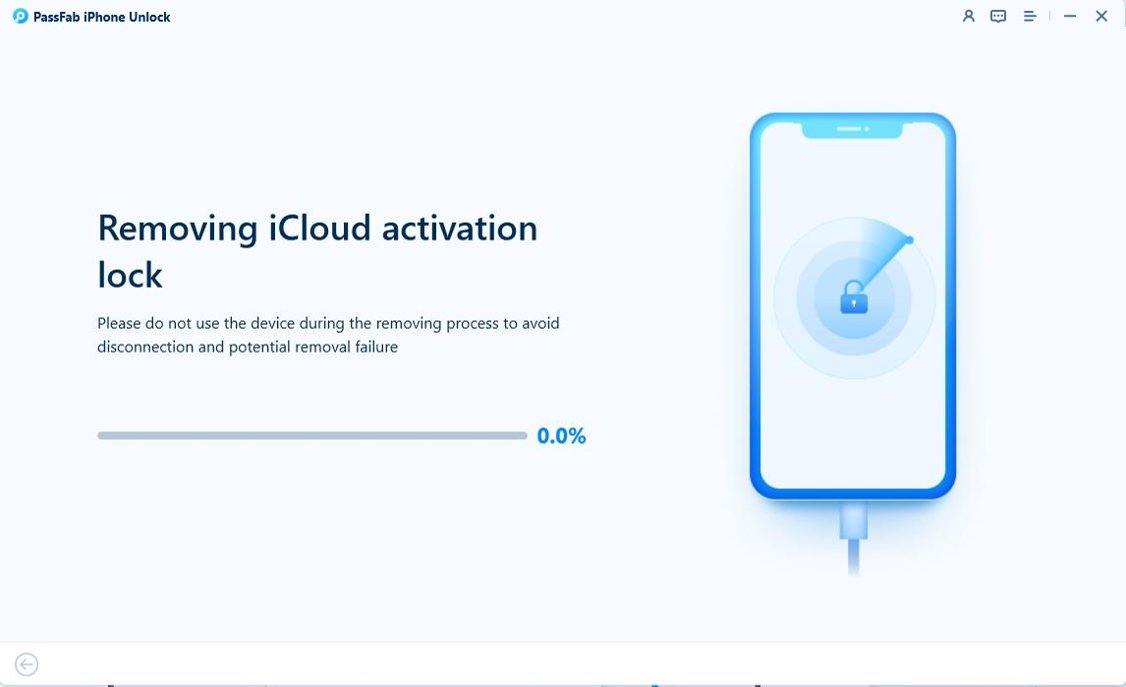
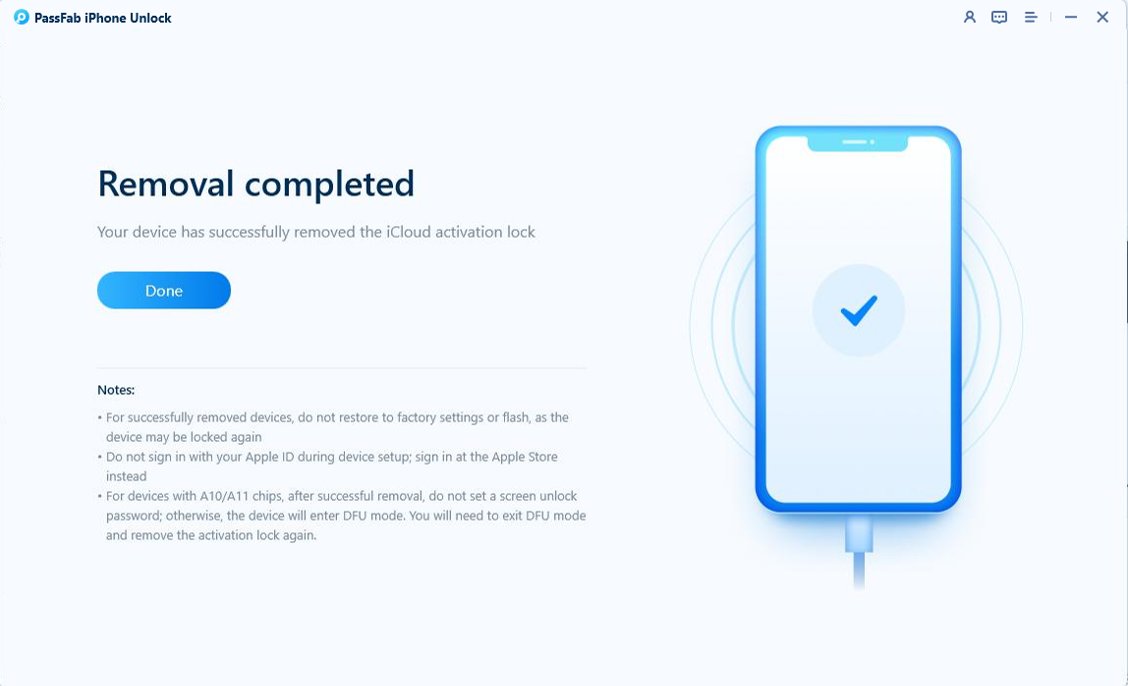
After the successful jailbreak, PassFab iPhone Unlocker will start remove the Activation Lock without iCloud DNS byass. Within a few minutes, your device will be unlocked, and you can start using it without any restrictions.


Part 4: iCloud DNS Bypass vs. iCloud Activation Removal
Given that you're unsure which method is best for you, here's a comparison between the iCloud DNS bypass and the permanent iCloud Activation Lock removal.
| Feature | iCloud DNS Bypass | Permanent iCloud Activation Lock Removal |
|---|---|---|
| Method Type | Does not permanently unlock the device | Fully unlocks the device and removes iCloud lock |
| Device Compatibility | Works on certain iOS versions (iOS 7 to 10) | Works on most iOS versions (iOS 11 and above) |
| Reliability | Unreliable over time (may stop working after updates or | Reliable, permanent unlock with full |
| Success Rate | Low | High |
| Legal Considerations | May violate Apple's terms of service, depends on region | Legal if you own the device, using trusted services |
To Conclude
In conclusion, both the iCloud DNS Bypass and Permanent iCloud Activation Lock Removal methods offer ways to bypass the iCloud Activation Lock, but they serve different purposes and come with distinct advantages and limitations. The DNS bypass is a quick, free solution that provides limited access to certain features but is not permanent and may not work on newer devices or iOS versions. On the other hand, PassFab iPhone Unlocker offers a more reliable, permanent solution to fully remove the iCloud Activation Lock, allowing you to regain full access to your device. While it comes at a cost, it supports a wider range of devices and iOS versions, making it a more comprehensive option for users seeking a long-term fix. Ultimately, the choice depends on your specific needs, whether you're looking for a temporary workaround or a permanent unlock solution.

