Everyone knows that Apple laptops and desktops run on their own OS. which MacOS. But being one of the most popular and easy to use OS. Windows has a natural attractiveness of its own. For a long time it was believed that Apple's product won't allow windows O.S. to be run on them, but with the boot camp drive it is now possible to achieve the long dream of running windows 10 on the Mac computers. User will only require bootcamp drivers Windows 10. The process may be lengthy as long as 30 to 40 minutes but it is not a tough one.
- Part 1: What Mac that supports Windows 10?
- Part 2: How to Free Download Boot Camp Support Software on Mac?
- Part 3: How to Install Windows 10 on Your Mac using Boot Camp Assistant?
- Part 4: How to Download and Install Boot Camp Drives for Windows 10?
Part 1: What Mac that supports Windows 10?
Although apple hardware can now allow windows O.S. to be run on them but this feature is not available at every product. Only bootcamp windows 10 download won't make it viable for the windows 10 to be installed on the Mac. The models which can support windows 10, 64 bit versions when installed through boot camps are as follows.
- MacBook ( 2012 and later)
- MacBook Air ( 2012 and later)
- MacBook ( 2015 and later)
- iMac Pro models (2017 and later)
- iMac models (2012 and later)
- Mac mini ( 2012 and later)
- Mac mini server ( 2012 and later)
- Mac Pro models ( 2013 and later)
Part 2: How to Free Download Boot Camp Support Software on Mac?
Sometimes to install windows 10 bootcamp is not the only thing support software becomes equally important. For downloading the same follow below mentioned processes.
1. First disconnect the Mac from internet.
2. Then boot camp should be launched from utilities.
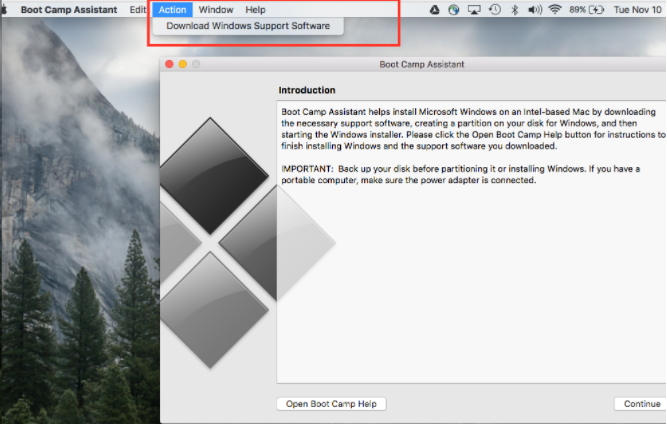
3. From the boot camp assistant user will find the option to download "latest Windows support software for Apple", except this one unselect all the other options to download only the required ones. If there's no option as such then download the same from the menu bar.
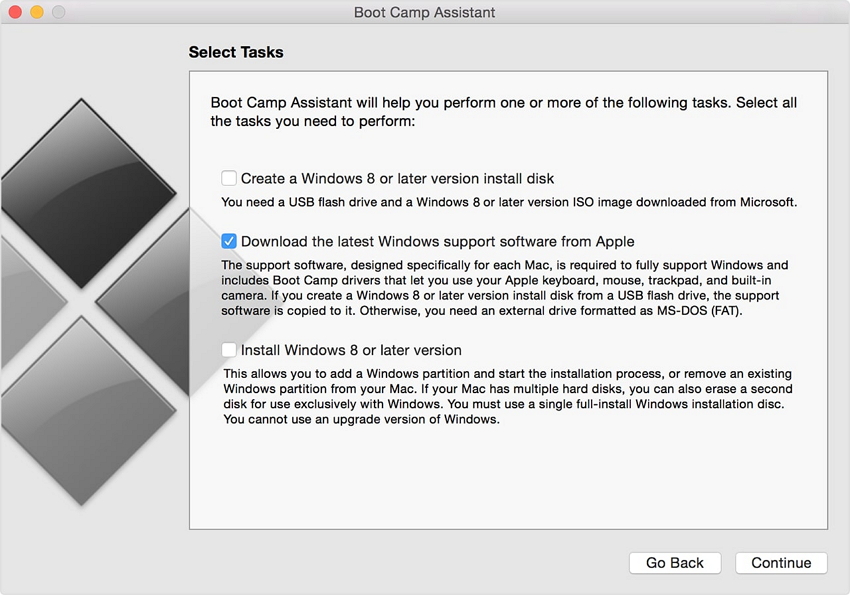
4. It is recommended to download the support software on USB flash drive. To do so select the USB flash drive as the destination folder with administrator name and password.
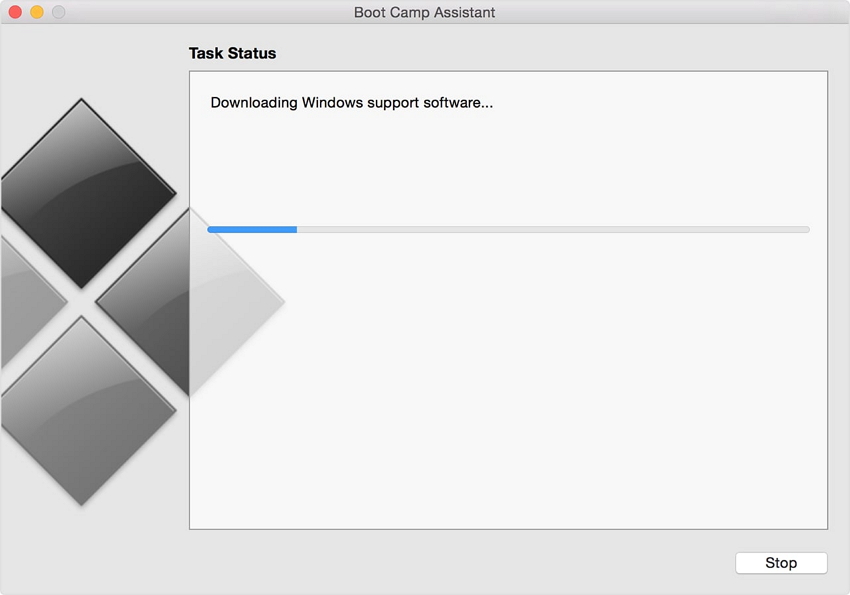
Part 3: How to Install Windows 10 on Your Mac using Boot Camp Assistant?
For the process two things are required first one is Windows 10 ISO and the second one is obviously boot camp assistant. Windows 10 ISO can be downloaded easily from the Microsoft web page. Once the download is complete follow the following steps as said.
1. Launch the boot camp assistant to continue the installation. Launching of the said can be done from utilities under application.
2. Then the user are directed to click on the choose button shown right next to the ISO image box for selecting the Windows 10 ISO file.
3. Then select the space which is to be used for the Windows O.S. installation. If the user wants to install more number of games then he or she needs to enable more space in time of partition.
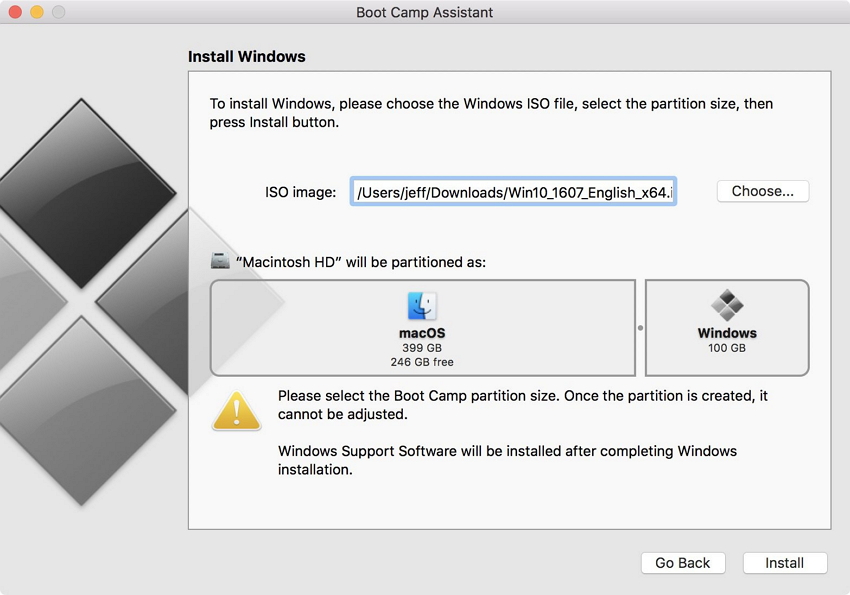
4. After the first 3 steps the user should click on install, bootcamp windows 10 drivers download will be started and the partition will be done by the boot camp assistant. After all these the assistant will ask the user for the administrator password and after then MacOS will be rebooted to Windows 10 setup.
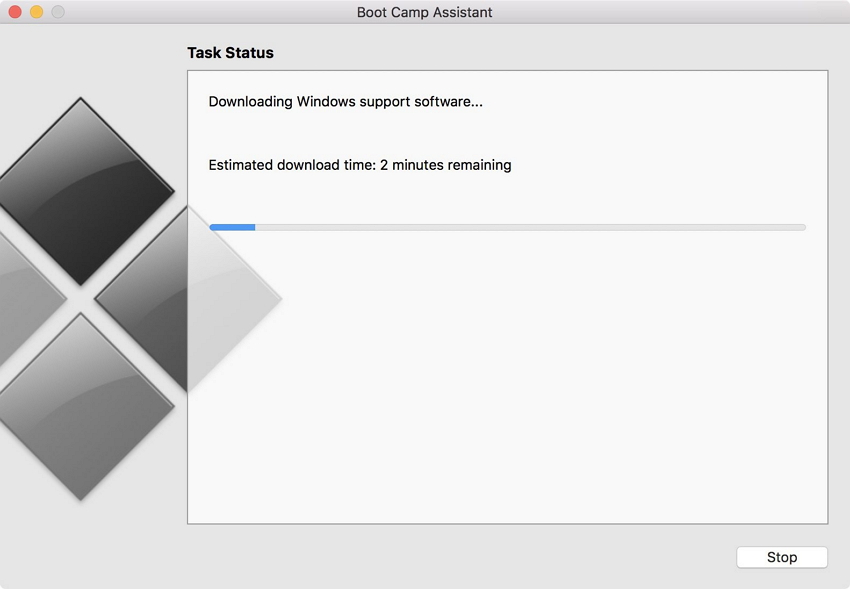
5. When the reboot is done the monitor will show the Windows logo and the setup screen. There the user is needed to select the various customization formats such as language, time etc.
6. After the above steps now a window will pop up which is the activate Windows box. If the user has Windows 10 product key then he or she should enter the same otherwise clicking on the option "I don't have a product key" is advisable. If the user doesn't have the key then the window will prompt him or her to the buying option and there the user can choose the version of Windows 10.
7. After successful offering of the key the installation will start. bootcamp drivers Windows 10 download will be completed by copying the needed files via set up. After the setup is done Mac will reboot in 10 seconds. After rebooting the monitor will show Windows logo again and the setup procedure will continue. User should choose for customization option to make the OS. customized to his or her own needs.
8. Then the user is required to create an account with account name. after setting up the account a screen pop up asking the user whether or not he or she wants to enable the personal assistant Cortana. It's up to the choice of the user.
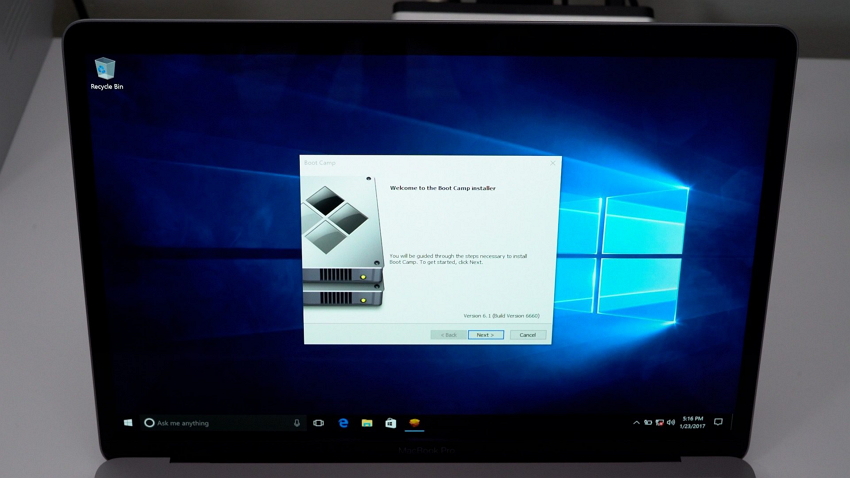
9. After all these steps the user can now finally see the windows desktop or laptop in his or her hands. But it doesn't end here. A welcome to boot camp installer box will come up on the screen soon where the user should accept the terms and conditions. Then to proceed further with the installation clicking on install is required. Additional driver installation windows may appear user should install them all. Once all the installations are finished the user should check the Restart system box and then by clicking on the "Finish" for again rebooting.
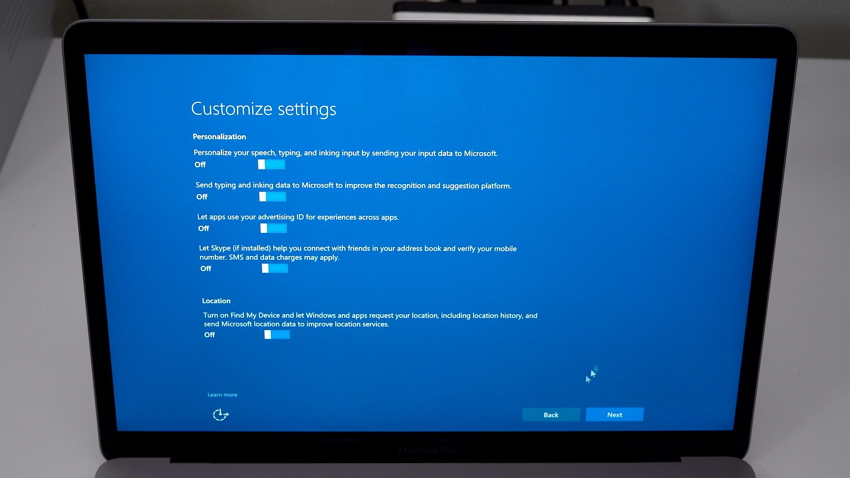
10. After rebooting when the machine starts again it should be connected on Wi-Fi, for updating the apple software to its latest versions as the previous ones may create problem.
11. Now a series of installation windows will come up on the screen users are required to install them all. After completing all the installations user should click on "Yes" on Apple software update restart window, by doing so Mac will undergo reboot for the last time and then when the machine turns on again there will be windows 10 loaded on it.
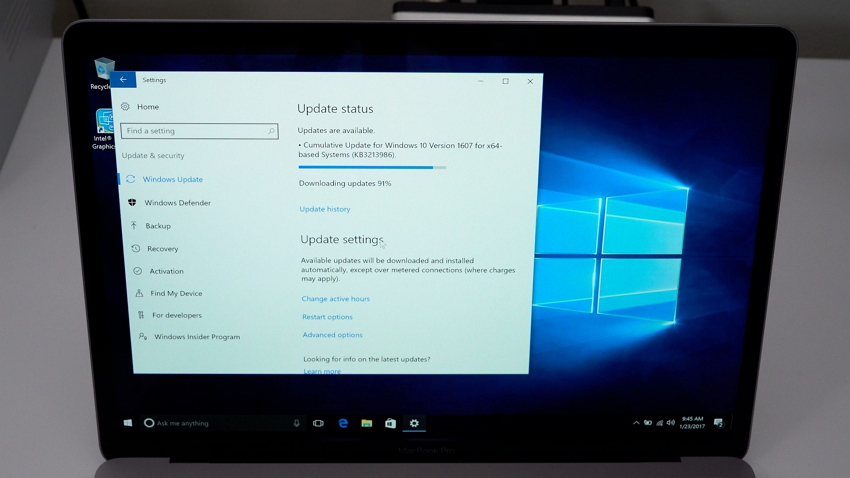
12. After Windows 10 is loaded user shall to the settings from the start button and there on update & security he or she should click check for updates.
Part 4: How to Download and Install Boot Camp Drives for Windows 10?
The user can download the boot camp drivers directly from the boot camp assistant. After launching the assistant from the utilities the user should select the option "Download the latest Windows support software from Apple" from the menu.
User should connect his or her USB flash drive to the system and download the software in the same. After the software is downloaded to the USB flash drive user should follow the below mentioned steps for successful installation of the boot drives.
1. Connect the USB flash drive with Mac.
2. Now select startup disk from the system preferences of Apple menu. Choose Windows volume from the list of drives.
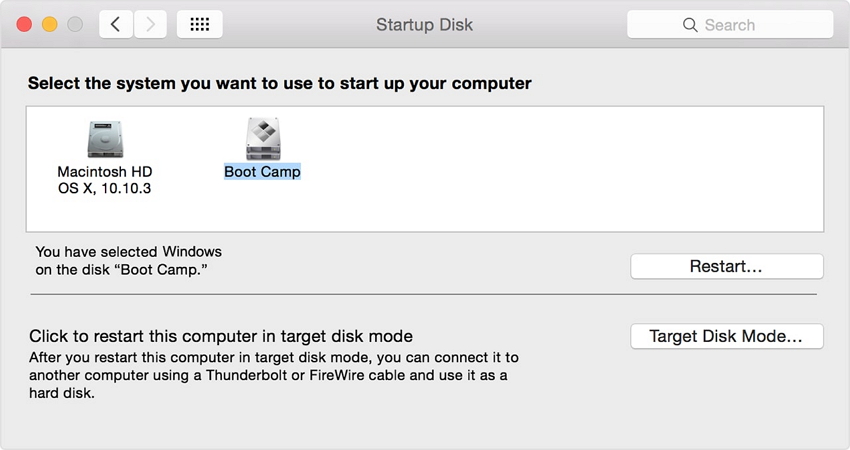
3. Then restart the machine to run in Windows and then login if required.
4. Then open the boot camp folder on USB flash drive then double click on setup to start the installation.
5. After installation is done, restart the machine. Hence, we conclude all the necessary steps to install Windows 10 on Mac.
Final Words
So that's all about how to free download boot camp and install Windows 10 on your Mac. By the way, while doing this long task for avoiding to be held up by forgetting passwords for accounts, users are recommended to use PassFab 4WinKey to reset the passwords. It is excellent software, which can help to reset/remove/recover the Windows passwords for local account, Administrator account, Microsoft account, domain account, etc.