How do you uninstall Windows 11 and return to the familiar comfort of Windows 10? Reverting from Windows 11 can seem daunting, whether due to compatibility issues, preference for the older version's layout, or other reasons. This tutorial will guide you through uninstalling Windows 11, ensuring you can switch back without losing your valuable data. Follow these comprehensive steps to make your transition as smooth as possible.
Part 1: Preparing for Uninstallation HOT
Part 2: How do you uninstall Windows 11 and go back to Windows 10?
Final Thoughts
Part 1: Preparing for Uninstallation
Before you begin the process of uninstalling Windows 11, it's crucial to prepare your system to ensure a smooth and safe transition back to Windows 10. This preparation involves several key steps that will protect your data and ensure your system meets the requirements for the downgrade. Let’s start by securing your important files and checking system compatibilities.
1. Backup Your Important Files and Operating System
Before you learn how to uninstall Windows 11, it's crucial to back up everything on your Windows 11 PC. Data loss is possible during reverting, and not all data may be restored. You can back up your files by manually copying them onto your PC’s OneDrive, an external hard drive, or a USB thumb drive. Remember, third-party applications will not be reinstalled automatically, so you must reinstall them afterward.
PassFab 4EasyPartition is recognized as a leading partition manager for Windows, significantly enhancing disk performance. This powerful tool facilitates the safe migration of your operating system to an SSD or HDD with just a few clicks, streamlining what can often be a complicated process. It's designed to be user-friendly, making it accessible even to those who aren't tech experts.
Whether you're looking to upgrade your system’s storage, manage disk partitions, or ensure your data is securely backed up, PassFab 4EasyPartition provides a reliable and efficient solution. Let's explore how to maximize the benefits of this essential tool.
Key features of PassFab 4EasyPartition:
PassFab 4EasyPartition is a premier tool for Windows users looking to optimize their disk management. Here are the key features that make PassFab 4EasyPartition indispensable:
PassFab 4EasyPartition
- Clone Disk: This feature allows you to easily create an exact copy of your hard drive, which is crucial for data safety or
- Efficient Partition Management: PassFab 4EasyPartition offers robust tools for managing disk partitions. You can resize, split, merge, and format partitions according to your needs. This flexibility helps optimize disk space usage and maintain data organization more effectively.
- User-Friendly Interface: The software is designed with a straightforward and intuitive interface, making it accessible even to non-tech-savvy users. Navigating the various tools and features is clear and simple, reducing the complexity of disk management tasks.
PassFab 4WinKey has Recommended by many medias, like macworld, makeuseof, appleinsider, etc.


These features make PassFab 4EasyPartition a highly effective solution for managing your computer’s disks and partitions, enhancing your PC’s performance and reliability. Whether you're a professional managing multiple machines or a casual user looking to improve your computer’s setup, PassFab 4EasyPartition caters to a broad spectrum of needs with precision and ease.
How to Use PassFab 4EasyPartition to Clone a Disk:
*An OTG cable is required
-
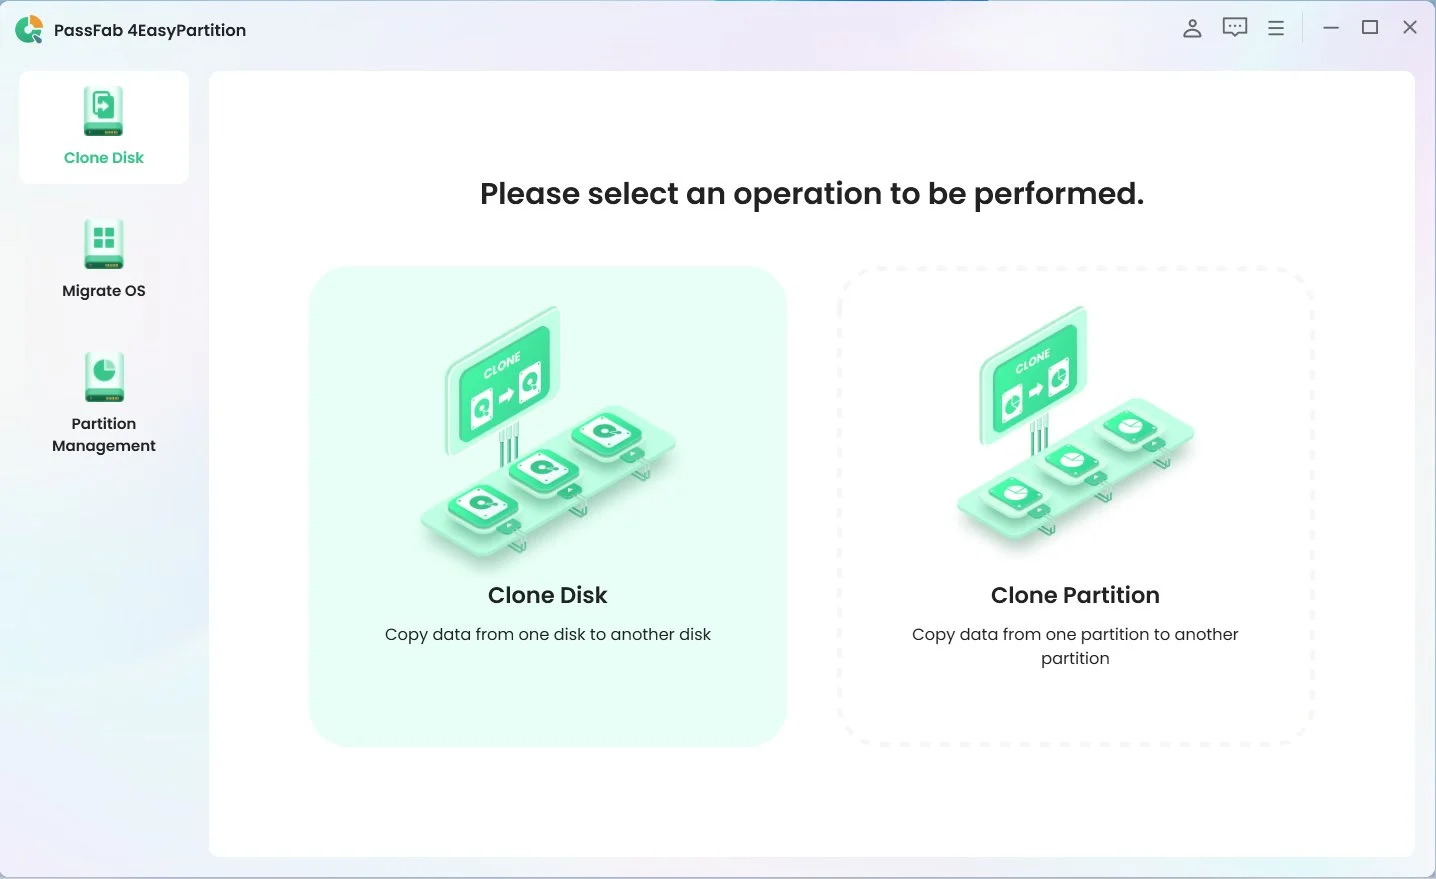
Start by installing PassFab 4EasyPartition on your computer. Open the application and select the "Clone Disk" option to initiate cloning.

-
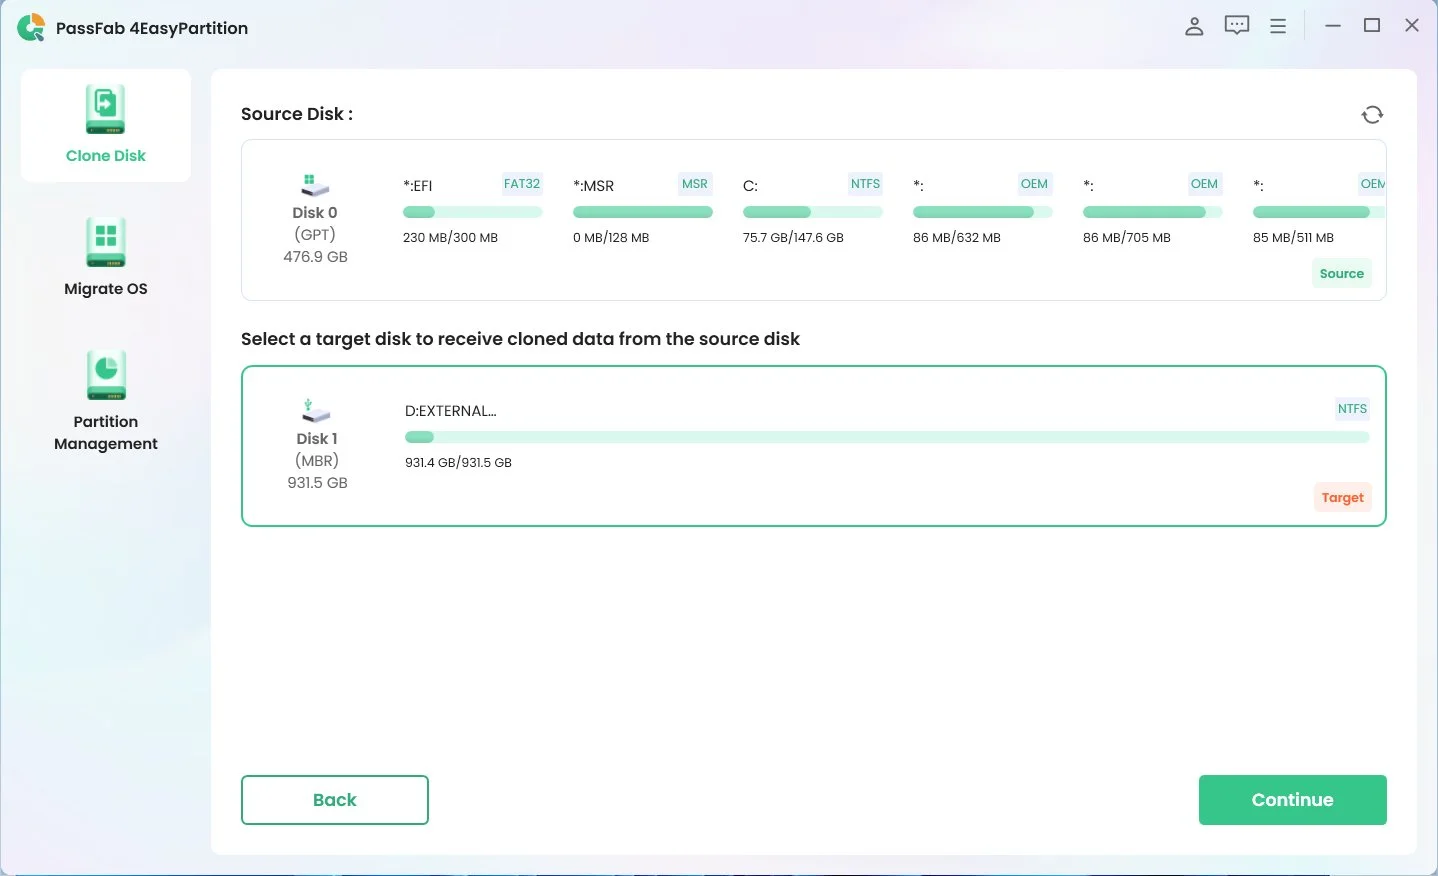
Choose the destination disk where you want the clone saved. Then click "Continue" to proceed to the next step.

-
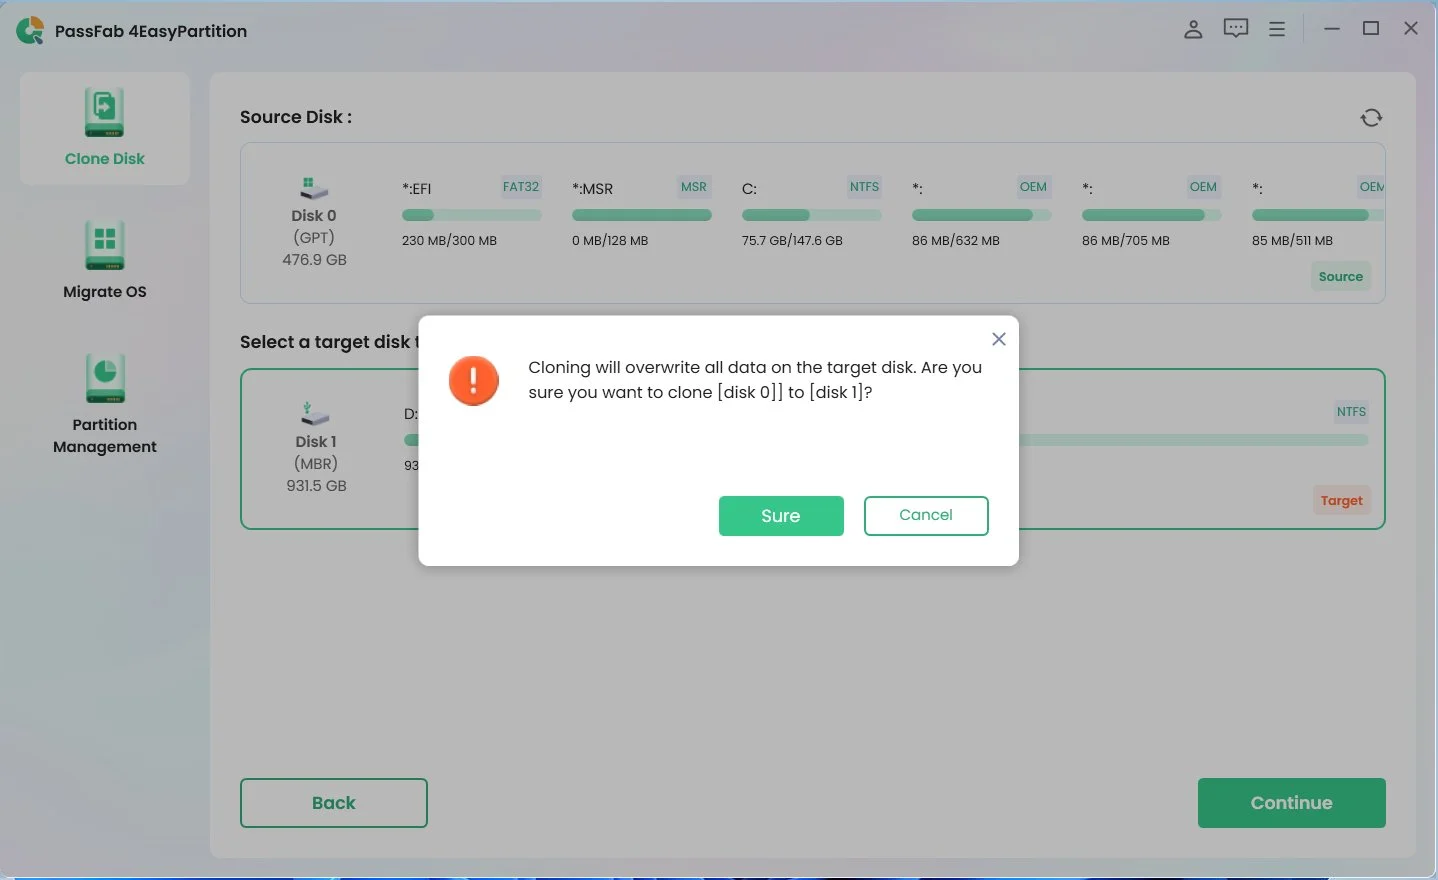
Acknowledge the risks: A warning popup will appear, asking you to confirm the continuation of the process. Click on "Sure" to agree and proceed.

-
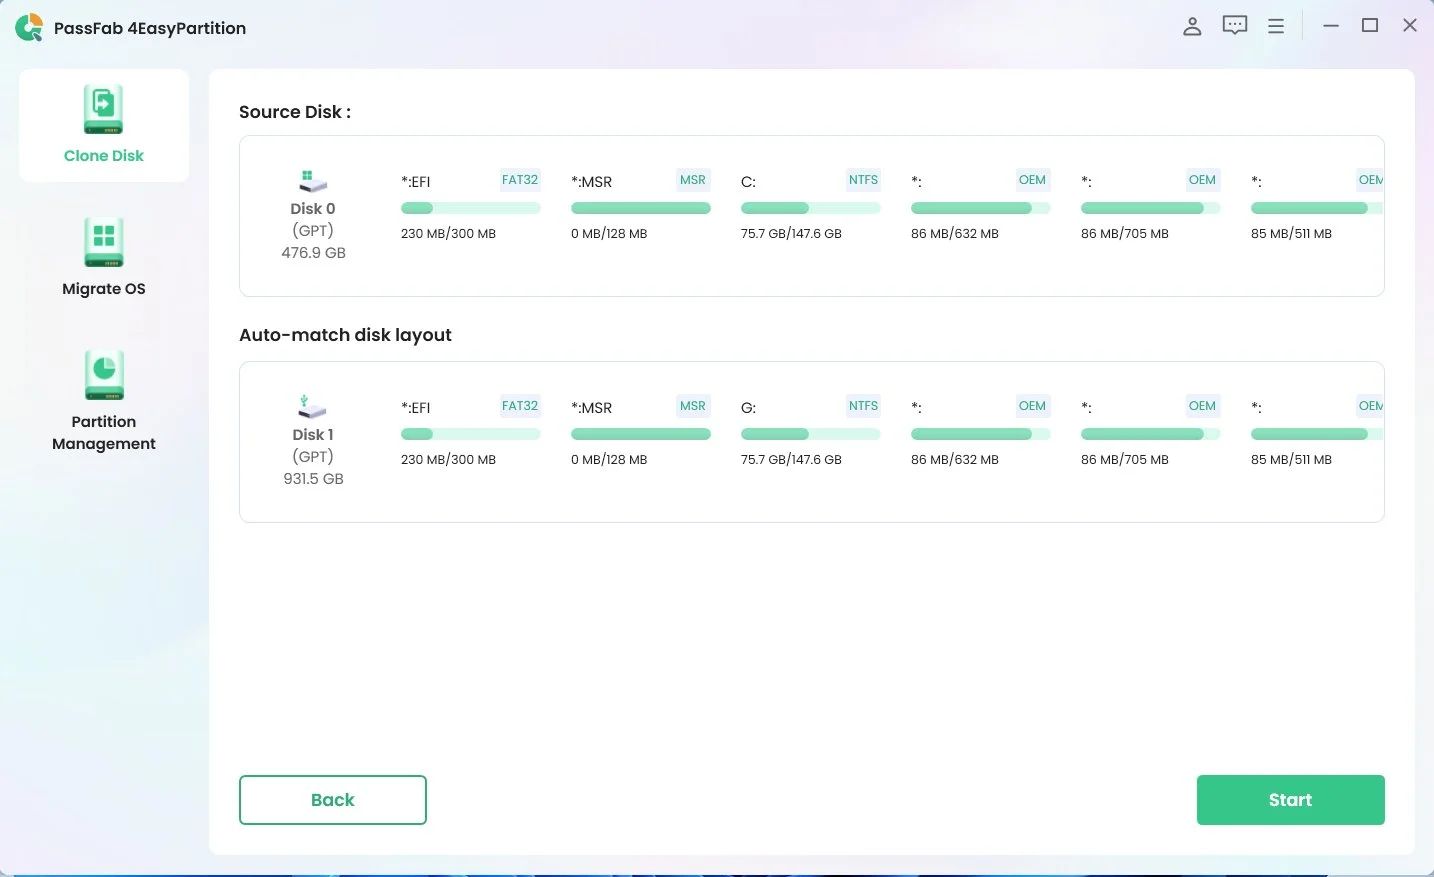
Review the disk details: Before finalizing, you'll be shown a preview of the source and target disks. Verify all details are correct, then click "Start" to begin cloning.

-
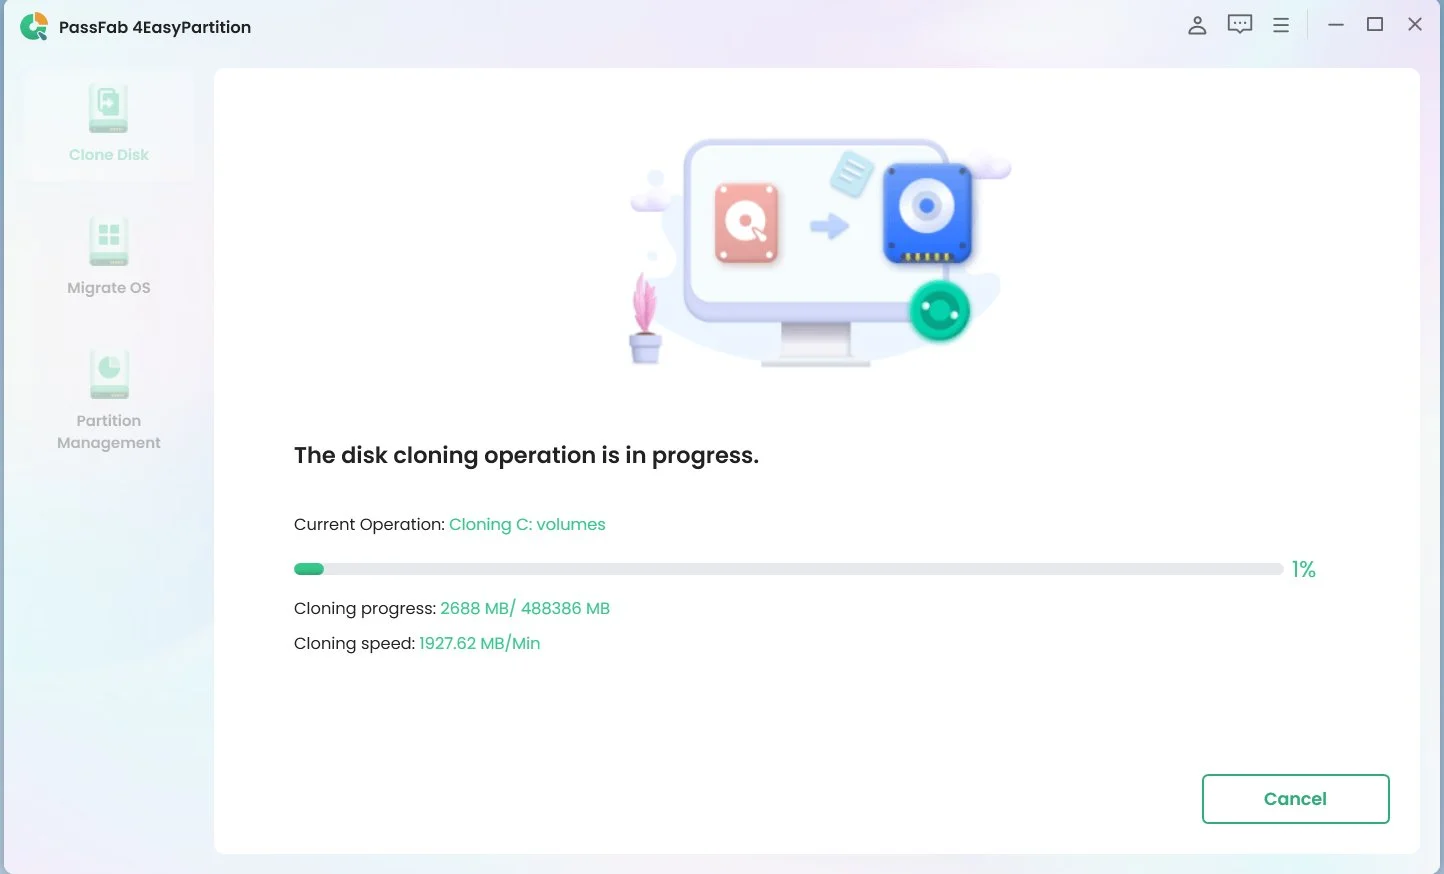
Complete the process: Depending on the disk size, the cloning will take some time.

-
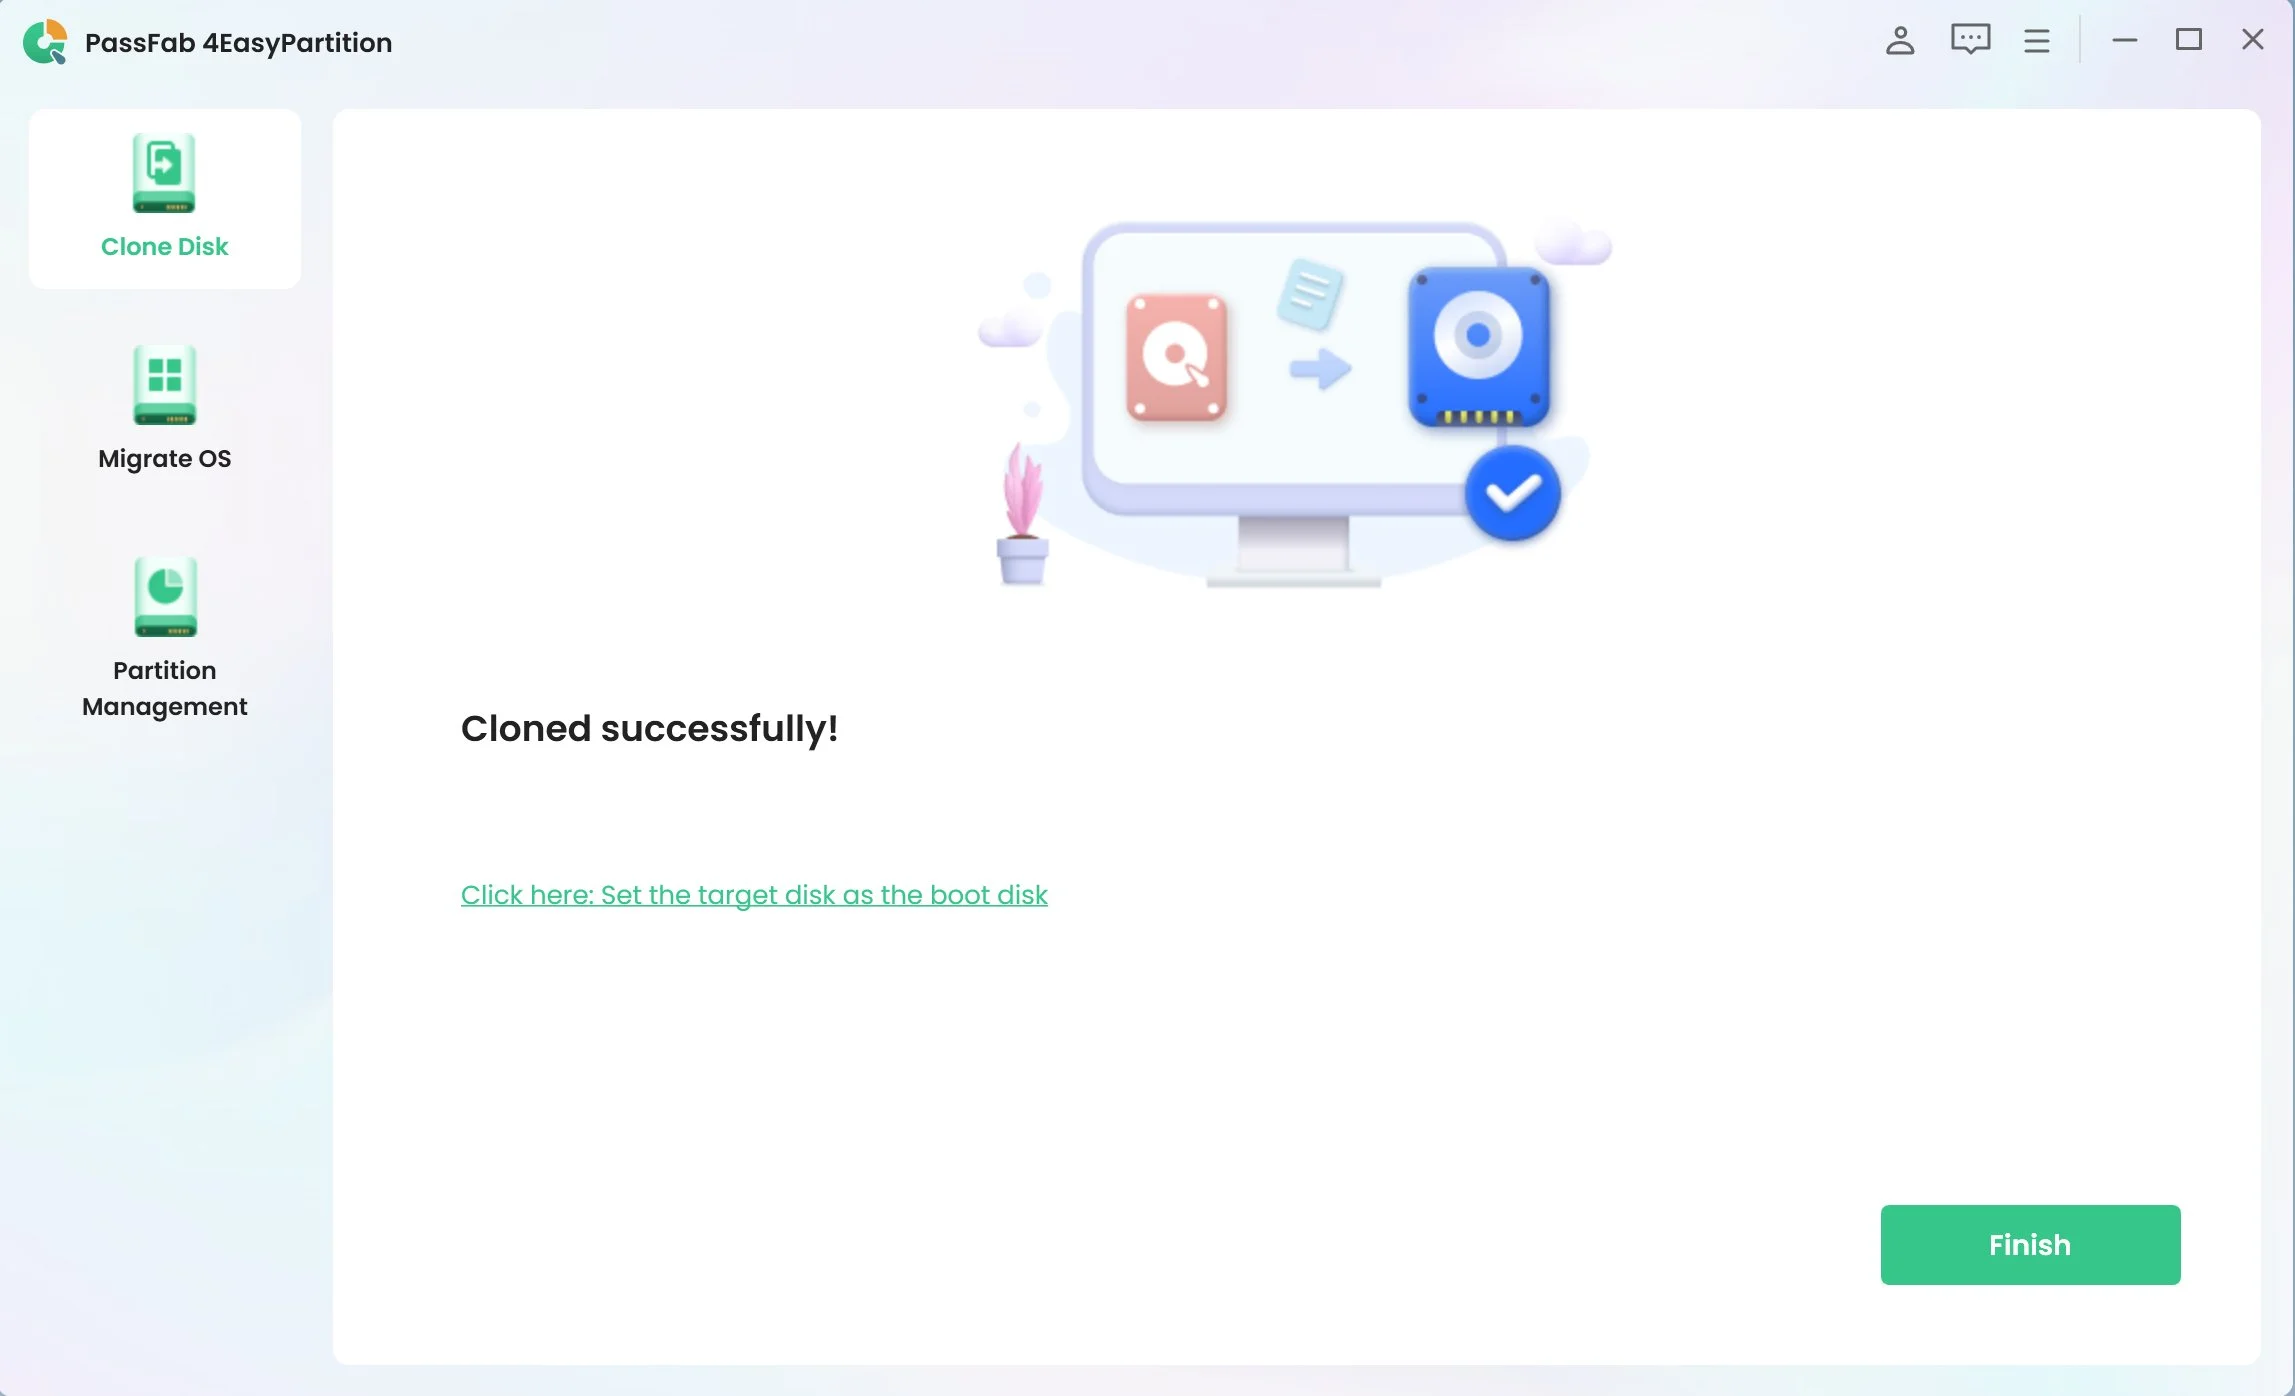
Once finished, a popup will reload the system; click "Reload" and "Finish" to close the cloning operation.

2. Checking System Requirements for Previous Windows Version
Before you proceed with how to uninstall Windows 11, it is vital to check if your PC meets the system requirements for Windows 10. This preliminary step is essential to avoid any compatibility issues after the downgrade. Windows 10 has specific hardware requirements that must be met for optimal performance and stability. Ensuring your system aligns with these requirements will help prevent potential operational problems and ensure a smoother transition back to the older operating system. Carefully review the processor speed, RAM, storage space, and graphics capabilities required by Windows 10 to confirm your system's compatibility.
Part 2: How do you uninstall Windows 11 and go back to Windows 10?
Suppose you've recently upgraded to Windows 11 but need to include the features and familiarity of Windows 10. In that case, you can revert to the older version within the first 10 days of your upgrade. After this period, Windows typically deletes the old operating system files necessary for an automatic rollback. However, you can still manually reinstall Windows 10 or adjust Windows 11 to resemble its predecessor more closely.
Here’s how you can uninstall Windows 11 and return to Windows 10:
-
Access the Recovery Options:
- Navigate to Settings -> System -> Recovery and open the Recovery submenu.

-
Initiate the Rollback Process:
- Click on "Go back" to start the rollback process to Windows 10.

-
Provide a Reason for the Downgrade:
- You will be prompted to select a reason for your return to Windows 10. Choose the most applicable reason.

-
Opt-Out of Updates:
- When prompted to check for updates, select "No, thanks." This choice is crucial as it prevents installing updates that might keep you on Windows 11.

-
Confirm Your Decision:
- Click "Next" to confirm your decision. Keep your Windows 10 password handy, as you will need it post-rollback.

-
Complete the Rollback:
- Click "Go back to Windows 10." This will start the restoration process.

The system will then restart and restore Windows 10, which takes only a few minutes. Following these steps, you can smoothly transition back to Windows 10 without significant disruptions.
Final Thoughts
Reverting to Windows 10 from Windows 11 is a significant decision that needs careful consideration of your unique needs and your system's capabilities. Employing tools like PassFab 4EasyPartition is crucial for efficient data management and a secure transition. Whether your decision to downgrade is driven by performance disparities or a preference for the user interface and functionality of Windows 10, following these structured guidelines is essential. They are designed to protect the integrity of your system and the security of your data. Diligently adhering to each step outlined in this guide will ensure a smooth and successful transition back to Windows 10.
Ensure that every action is taken with precision and awareness, as downgrading can affect system settings and personal data. By carefully preparing and executing the rollback, you enhance the system's stability and ensure a seamless user experience as you return to the comfort of Windows 10.
*An OTG cable is required
