Encountering the request failed due to a fatal device hardware error can be frustrating. This error often appears when your external hard drive or SSD experiences hardware issues. It can disrupt your work and cause data loss. If the request failed due to a fatal device hardware error external hard drive or the request failed due to a fatal device hardware error ssd is causing you trouble, don't worry. There are simple solutions.
In this guide, we'll explore six easy ways to fix this error and get your device running smoothly again.
Part 1: Possible Causes of the Request Failed Due to a Fatal Device Hardware Error
Part 2: The Request Failed Due to a Fatal Device Hardware Error: How to Fix?
- Method 1. Check the Hard Drive Connection
- Method 2. Assign a New Drive Letter
- Method 3. Run CHKDSK.exe to Fix External Drive Errors
- Method 4. Verify SMART Status
- Method 5. Initialize Your Hard Drive
- Method 6. Format Your Hard Drive
Part 3: How to Prevent Fatal Device Hardware Error?
Part 1: Possible Causes of the Request Failed Due to a Fatal Device Hardware Error
Possible Causes
- Failing USB Cable: A damaged or faulty USB cable can prevent the OS from reading/writing to the drive.
- Loose USB Connections: Insecure connections can disrupt data transfer between the drive and the computer.
- Computer Hardware Fault: Issues with your computer’s hardware may cause communication errors with the drive.
- Drive Sector Errors: Bad sectors on the drive can lead to read/write failures.
- Drive Hardware Failure: Physical damage or wear and tear on the drive itself can cause this error.
Common Error Messages
- "X: is not accessible”. The request failed due to a fatal device hardware error.
- "Error 0x800701E3”. The request could not be completed due to a fatal device hardware error.
- "Virtual Disk Manager”. The operation failed due to a fatal device hardware error.
Part 2: The Request Failed Due to a Fatal Device Hardware Error: How to Fix?
Method 1. Check the Hard Drive Connection
First, examine the connections. Ensure the cables are securely plugged into their ports. If they seem loose, push them in firmly.
Next, try unplugging and then reconnecting the external hard drive. If that doesn’t work, switch to a different USB port. Sometimes, a port may be faulty. Consider replacing the USB cable with a new one. A damaged cable can cause connection issues.
Lastly, connect the drive to another computer. This helps determine if the issue is with your PC or the hard drive itself.
Method 2. Assign a New Drive Letter
Sometimes, the error can be due to a drive letter conflict. Assigning a new drive letter to your external drive can help resolve this.
Right-click on "This PC" (or "My Computer" in Windows 7) and select "Manage".
In the left pane, click on "Disk Management" under "Storage".
Find your external drive, right-click on it, and choose "Change Drive Letter and Paths". Click "Change", select a new drive letter from the dropdown menu, and click "OK".

Method 3. Run CHKDSK.exe to Fix External Drive Errors
If the fatal device hardware error is caused by file system errors, running CHKDSK.exe can help. This tool scans and fixes errors on your external drive.
Type "cmd" in the Search box, right-click on the Command Prompt, and select "Run as administrator".
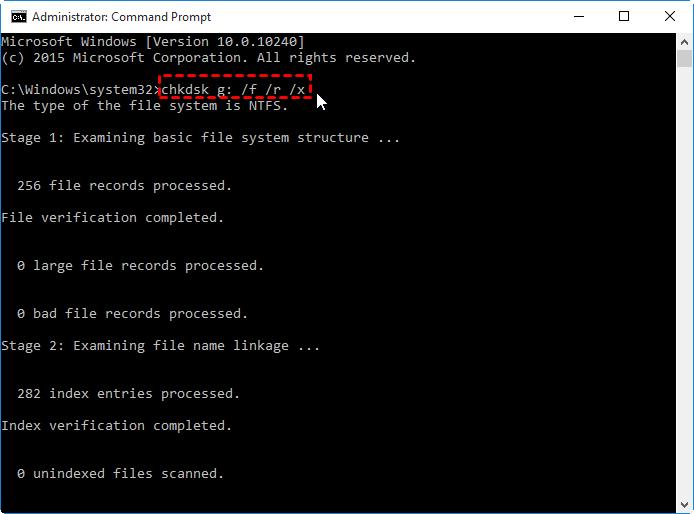
In the Command Prompt window, type chkdsk g: /f /r (replace "g" with the letter of your external drive) and press Enter.
Note:
- The drive letter "g" is just an example. Replace it with the correct letter of your drive.
- If CHKDSK finds any bad sectors, it will attempt to repair them, which could result in data loss stored in those sectors.

Method 4. Verify SMART Status
SMART (Self-Monitoring, Analysis, and Reporting Technology) helps you determine the health of your drive and the extent of any problems. Here's how to check your hard drive's SMART status:
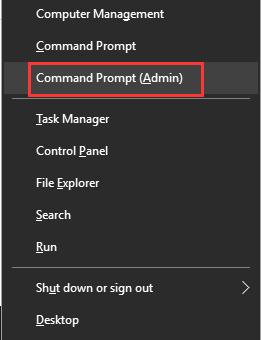
Press Windows + X keys to open the Quick Links menu, then select "Command Prompt (Admin)".

In the Command Prompt, type wmic diskdrive get status and press Enter.
The command will return one of four statuses: "OK", "Bad", "Unknown", or "Caution".
- OK: The drive is functioning normally.
- Bad or Unknown: Indicates serious issues. Consider using data recovery solutions and follow further repair methods.
- Caution: Suggests significant drive issues. It's advisable to seek professional repair services.
Method 5. Initialize Your Hard Drive
An uninitialized hard drive can cause the fatal device hardware error. To fix this, you need to check if the drive is initialized and, if not, initialize it.
Here's how:
Right-click on "This PC" (or "My Computer") and select "Manage".
In the left panel, click on "Disk Management".
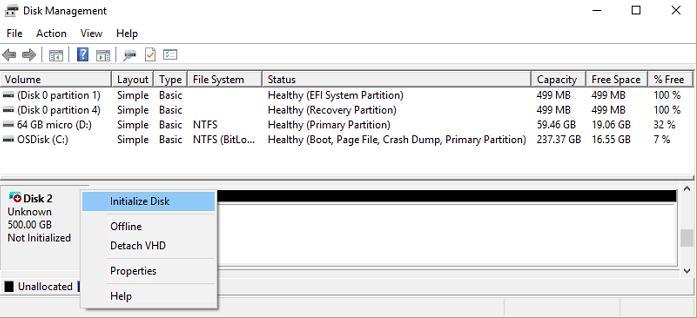
Find your hard drive, right-click on it, and select "Initialize Disk".

Choose either MBR (Master Boot Record) or GPT (GUID Partition Table) as the partition style, then click "OK".

Method 6. Format Your Hard Drive
PassFab 4EasyPartition is renowned for being the most secure and professional system migration and all-in-one partition management tool. Users prefer it for its quick, safe, and reliable performance in migrating Windows systems to other hard disks or PCs. This tool is important because it simplifies complex disk management tasks and ensures data integrity.
Why Users Prefer PassFab 4EasyPartition
- Quickly migrates Windows systems without data loss.
- Easily upgrades to high-speed SSDs, making Windows boot faster.
- Converts MBR to GPT for Windows 11 updates without losing data.
- Offers seamless disk/partition cloning for full backups.
- Efficiently resizes, creates, deletes, splits, and formats partitions.
Key Features of PassFab 4EasyPartition
- Format Hard Drive/External Hard Drive
- Clone Disk
- One-Click System Migration
- Seamless MBR and GPT Disk Conversion
- Partition Recovery
- Boot Repair
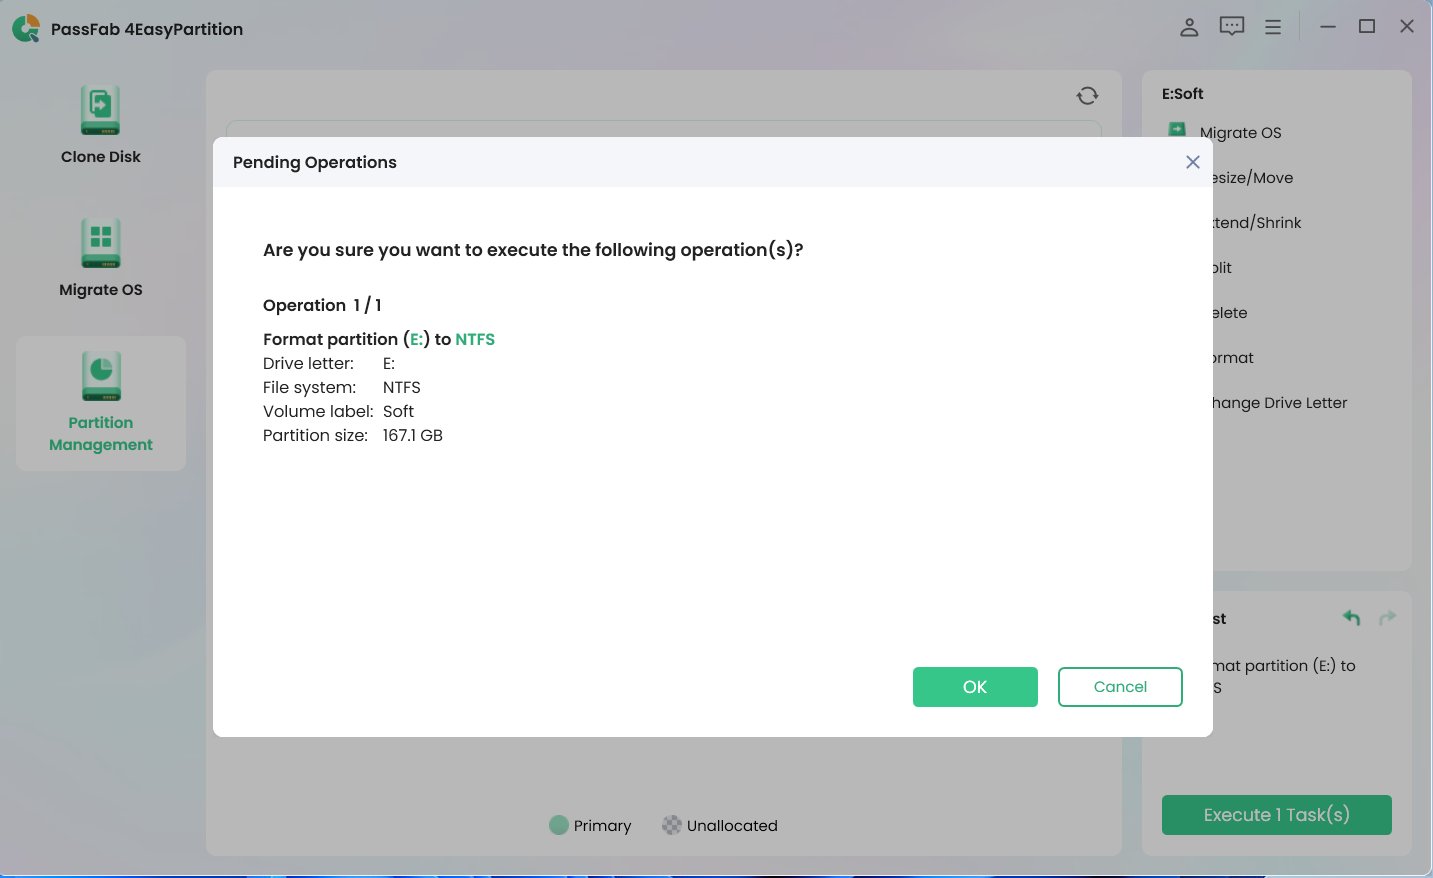
Here’s a step-by-step guide on how to use PassFab 4EasyPartition to format external hard drive:
Select the partition you want to format from the list and click "Format."
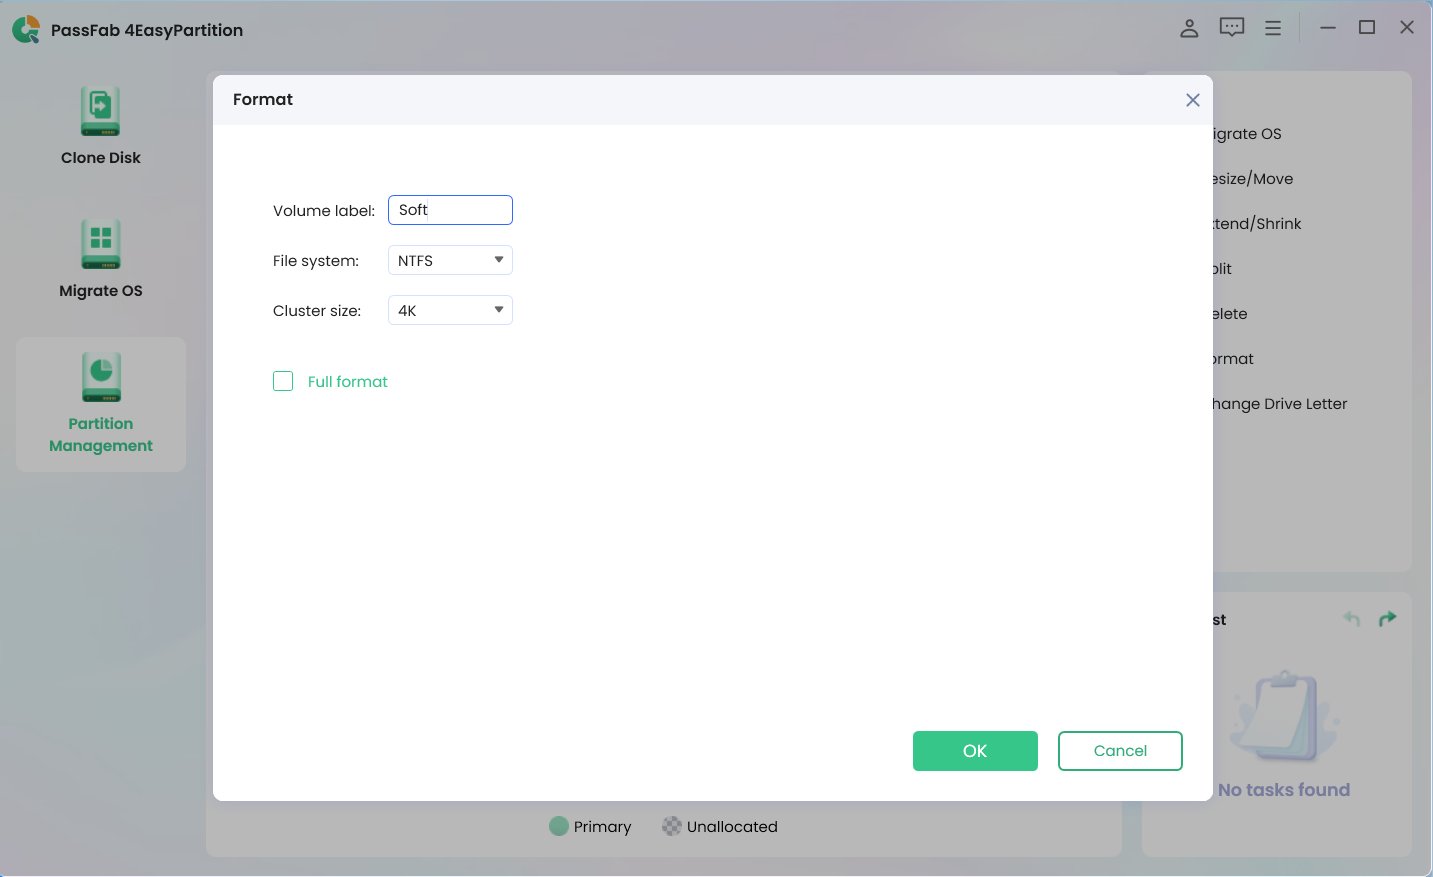
In the pop-up window, rename the volume label, and choose the file system and cluster size.

Click "OK" and acknowledge the warning about data loss by clicking "OK" again, then execute the task.

Part 3: How to Prevent Fatal Device Hardware Error?
Method 1. Regularly Check for Device Updates
Regularly updating your device drivers ensures that your hardware components, including the motherboard, graphics card, and sound card, function optimally. This helps prevent compatibility issues and potential errors.
Method 2. Scan for Malware Regularly
Perform regular scans with reputable antivirus software to detect and remove malware that could harm your hardware. Malware can cause various issues, including fatal device hardware errors, by interfering with system processes.
Method 3. Backup Important Files
Regularly backup your important files using external storage devices or cloud-based solutions. This ensures that you do not lose critical data in case of hardware failures. Consistent backups provide peace of mind and quick recovery options.
Final Thoughts?
Facing the request failed due to a fatal device hardware error can be stressful, but the solutions provided can help you resolve it. From checking connections to formatting with PassFab 4EasyPartition, each method offers a practical approach. Regularly updating drivers, scanning for malware, and backing up files can prevent future issues. If the request failed due to a fatal device hardware error external hard drive or the request failed due to a fatal device hardware error SSD troubles you, these steps will restore your device's functionality and ensure your data remains safe.

