With the increase in the popularity of online games, virtual meetings and events and personal demos, the need for screen recording got a new stimulus. However, capturing your screen on Chromebook is not an easy task as you cannot use most traditional methods or commonly used tools.
But don’t worry, we’ll walk you through several ways for learning how to screen record on Chromebook without any hassle. Let’s read them up.
Can You Screen Record on a Chromebook?
The answer is YES. Users can record a video on Chromebook as easily as it can get. You can use a third-party software of Chromebook’s built-in recording tool to screen record your lectures, games, product reviews, or anything else.
Now that you know screen casting on Chromebook is possible, let us peek into how to record your screen on Chromebook using the best tools.
What is the Best Screen Recorder for Chromebook?
The BEST is a subjective term and varies from person to person and same goes for screen recorder for Chromebook. The best screen recorder tool for Chromebook is the one “that meets your specific needs or suits your work.”
As you already know, not many screen recording tools are compatible with Chromebook. But in any case, we will talk you through how to record your screen on Chromebook.
Fortunately, Chromebook has built-in screen recording tool called that make it simple even for novice users to capture their screen. Since, this tool is very simple and easy to use, we have included it on our list of the best screen recorder for Chromebook.
How to Screen Record on a Chromebook without an Extension - Official Tool
Using the Chromebook’s built-in recording tool is easy to us even for novice users. The only downside of this official methods is that the output recorded video is saved in the WEBM format and you’d need a video converter to change the format to MP4.
-
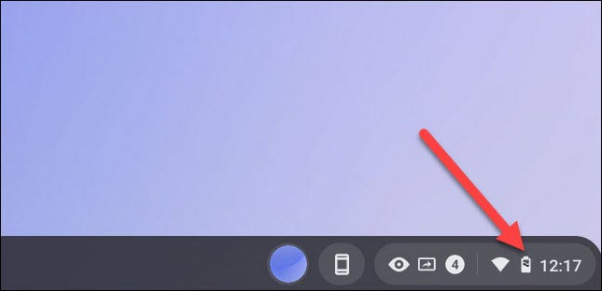
On your Chromebook, hit on Quick Settings icon at the bottom-right corner.

-
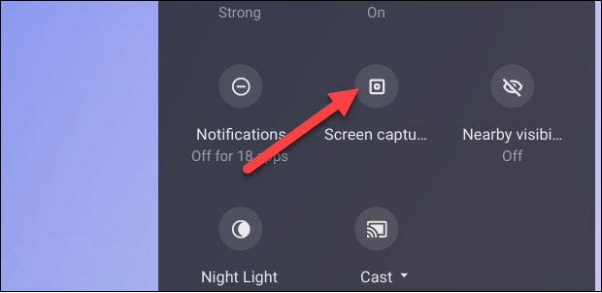
Expand the options and click on Screen Capture icon.

-
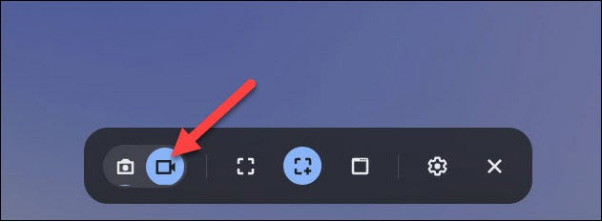
A menu will appear at the bottom of your screen. Hit on video icon.

-
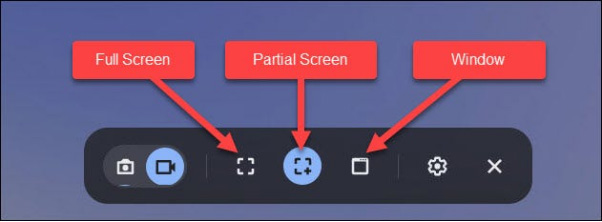
Now, choose a recording option from three available modes. Partial, Full, or Specific window.

-
Hit on the gear icon to choose if you want to record audio or not.

-
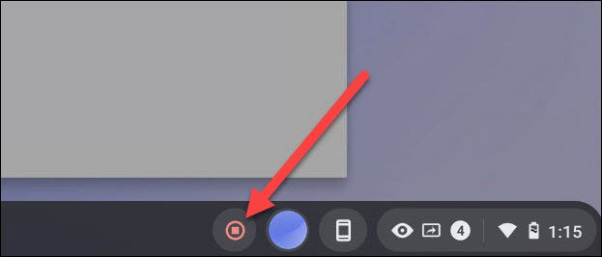
Use the Stop recording option at the bottom-right to stop recording whenever you want.

-
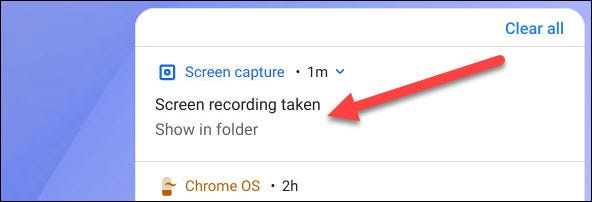
The program will save the output video in the Downloads folder. Go and check.

How Do You Screen Record on a Chromebook with Screencastify Extension
Many Chromebook users rely on Screencastify to capture their screen. It is a free screen recorder extension for Google Chrome that lets users record videos and it also offers annotation tools to edit the recorded videos to perfect.
Even though the free recording limit is 5 minutes, Screencastify extension is very popular because it’s free, very easy to use, occupies tiny space, and also provide in-built video editing and sharing features. That’s why it is a perfect choice for both the beginners and the professionals to record videos on Chromebook.
-
Head to the Screencastify – Screen Video Recorder on the Chrome Web Store.
-
Now, hit on Add to Chrome and then, Add Extension to sync it with your Google Chrome.

-
If Chrome asks, click on Allow to let Screencastify access your Chromebook’s screen.
-
To begin recording, hit on Screencastify icon next to the puzzle piece.

-
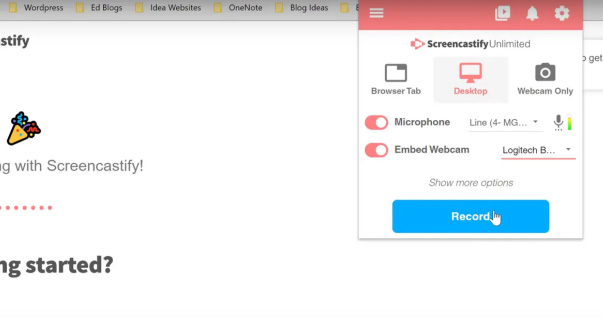
Now, you can choose the recording mode you want. Whether you want to capture Desktop, Webcam, or Browser tab and hit Record.
-
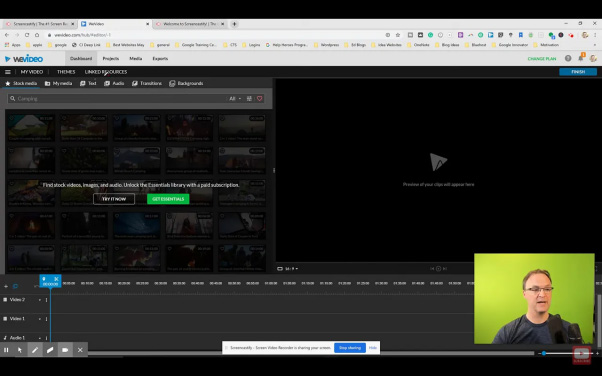
By default, the program will start recording in 3 seconds. During recording, use the option on the toolbar at the bottom-left to pause or edit the video.

-
When you hit on Stop, the program will automatically save the recorded video in the Screencastify folder.
Extra Tip: How to Record Chrome Browser on Windows
Since Chromebook is not that common as of now and most users still use Windows. Thankfully, there’re a myriad of screen recording tools that can get the job done for you but none of them close to PassFab Screen Recorder when it comes to capturing Chrome browser on Windows.
It is a small-sized yet full-featured tool having blazing-quick speed, universal compatibility, high efficiency, and ease of use even for novice users. Its attractive and intuitive interface makes it ridiculously easy for record screen like a pro.
What makes it the #1 screen recording tool is it allows users to webcam and computer screen simultaneously and record screen without any time limit. That’s why we strongly recommend users to install this powerful tool.
Here’s how to record Chrome browser using this tool:
-
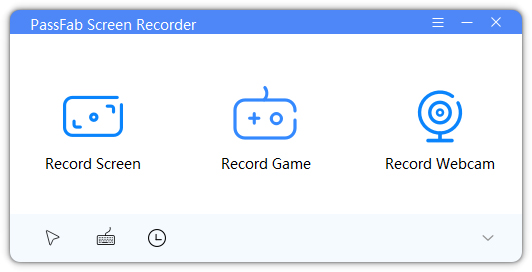
Once installed, launch PassFab Screen Recorder on your computer.
-
On its Home interface, hit on Record Screen.

-
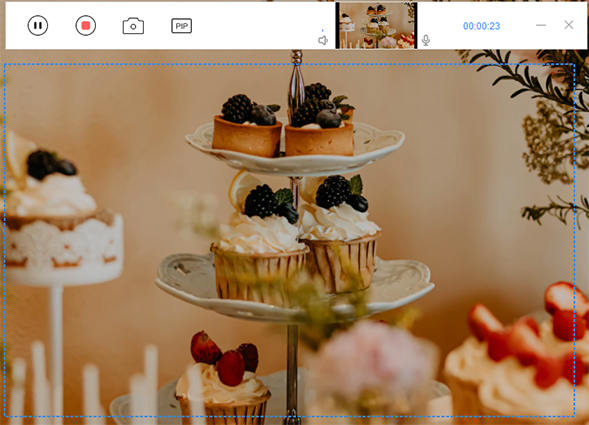
Open the Chrome browser and align the rectangular box to select the specific area you want to record.

-
On the top-left corner, hit on the Start recording icon to begin recording your Chrome browser.

-
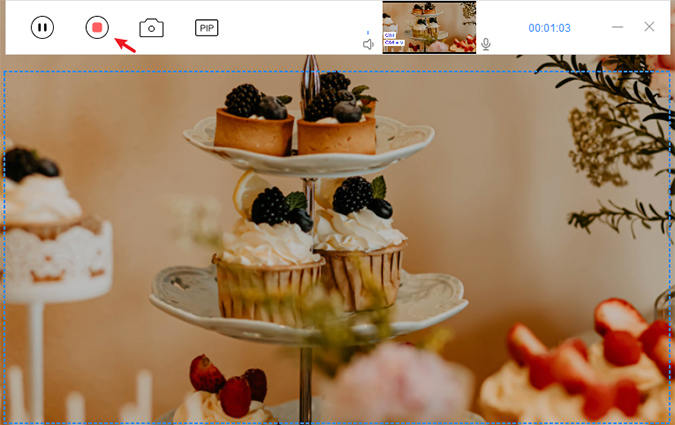
Click on the Stop recording button when you’re done recording and the software will save your recorded video automatically.

-
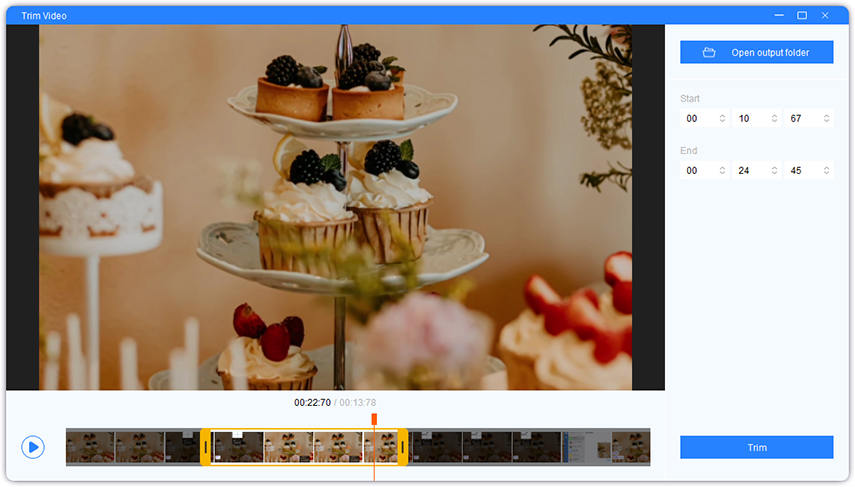
Use the Trim option if you want to edit the output video. Once done, click on Open output folder to access the final video.

Can it get any simpler than that to record your Chrome browser? No wonder, PassFab Screen Recorder is an ultimate choice for users to capture Chrome browser or any other screen on Windows.
However, the free version includes the official watermark. So, you should buy the premium version to get a smooth and watermark-free experience.
Conclusion
Hopefully, after reading this article, you won’t find any trouble in capturing screen on Chromebook. We outlined the best screen recorder for Chromebook and provided a detailed, step-by-step guidance on how to use those tools to record screen on Chromebook.
Even if you’re not a tech savvy user, you can still rely on any of the aforementioned methods to make an effective video tutorial or record online game.
For Windows users who want to capture Chrome browser, we urge them to rely on PassFab Screen Recorder for safe, smooth, and outstanding screen recording experience.
