Windows Vista is one of the older operating systems that was made by Microsoft. Since the release of Windows Vista, there has been a series of other versions and they have better features than Windows Vista. The latest of this OS is Windows 10 and with its release, all the maintenance and updates received by Windows Vista users stopped in April 2017. This has made a lot of Windows Vista user to start upgrading to Windows 10. If you also want to upgrade but do not know how, do not worry as this article contains the full details of how to upgrade Windows Vista to Windows 10.
How to Upgrade Windows Vista to Windows 10
There are several ways to go about upgrading your Windows Vista to Windows 10, but not every one of these methods works. You may even upgrade to some Windows 10 available on several sites on the Internet and it ends up messing up your file or making your system crash. With this article, however, you will be directed on how to legitimately upgrade Windows Vista to Windows 10 without any harm been done to your computer.
Before you upgrade Vista to Windows 10, one of the things you need to know is that Windows 10 has some basic requirements, which your computer should meet before you begin the installation process. These requirements include:
- Processor Speed: 1GHz or faster processor or SoC
- Memory Capacity: 1GB for 32-bit OS or 2GB for 64-bit OS
- Storage Space: 16GB for 32-bit OS or 20GB for 64-bit OS
- Graphics Card: DirectX 9 or WDDM 1.0 driver
- Display: 800 x 600
These features are the minimum requirements for any computer to upgrade to Windows 10, which means your PC must either have them or have features better than the ones listed above. Another thing to do is to back up your files. This is because during the installation of Windows 10, all your programs and files will be wiped off. So, you can either use Google Cloud, OneDrive, Dropbox, or any other cloud storage. You can also move your files to another computer or use external drives.
Once these conditions are satisfied, you can proceed to follow the steps below.
Step 1: Go to the Microsoft Store on your computer and download Windows 10 ISO from support. It would be preferable if you use Google Chrome or Mozilla Firefox for the downloading of the file. The file will help you create a bootable installation media which should be a USB drive.

Step 2: Make sure that your computer is connected to the Internet before creating the media creation tool. Once your laptop is connected, click on "Download" and select "Run". This will require administrator permission.
Step 3: You will see the Terms and Conditions page being displayed—agree and move to the "What do you want to do?" page. Choose "Create installation media for another PC" and click on "Next".

Step 4: The next page will ask you to "Select your language" and provide you with a range of options to choose from. Select one and confirm.
Step 5: Select Windows 10 as your choice of the edition and click on "Confirm".
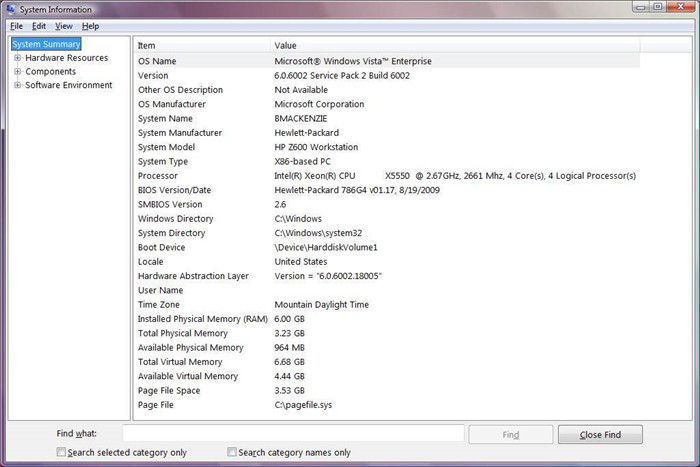
Step 6: After selecting the edition, the next page will show you two options, which are the "32-bit download button" and the "64-bit download button". To know the one that your system uses, press the Windows key + R on your keyboard to open the run command. Now, type msinfo32 and click on "Enter". The next page will show you the features of your PC and help you know which of the two options to select.
Step 7: Choose the USB flash you want to use and connect it to your computer.
Step 8: Restart the computer and press any key to boot for the USB drive. If you experience a case where the system doesn"t boot from the USB drive, then change your system BIOS settings. Power up the system and press the ESC key or any of the function to access the BIOS Setup Utility.
Step 9: When your computer boots from the installation USB drive, you will be able to configure language, time, date and keyboard settings. All these will be on the install Windows screen.
Step 10: After all that has been done, select "Install Windows' and you will be guided through the remaining installation process. All you need to do is just follow the instructions on the screen.
How to Get Windows 10 Product Key for Upgrade
The product key for Windows 10 is very essential when you are installing the operating system. But sometimes, users tend to forget where they kept the product key or do not even have access to it. There are methods that you can use to check for the product key, such as checking installation media or confirmation mail, checking the installation disc of the product key, or checking Windows 10 registry. If all these methods fail, there is a third-party software that you can use for the recovery of the product key and that software is PassFab Recovery Key Recovery. This product key recovery program can help you retrieve your product key quickly and easily.
Steps to get Windows 10 product key for the upgrade:
Step 1: Go to your web browser and download PassFab Product Key Recovery.
Step 2: Install the program and select Product Key Recovery from the menu.
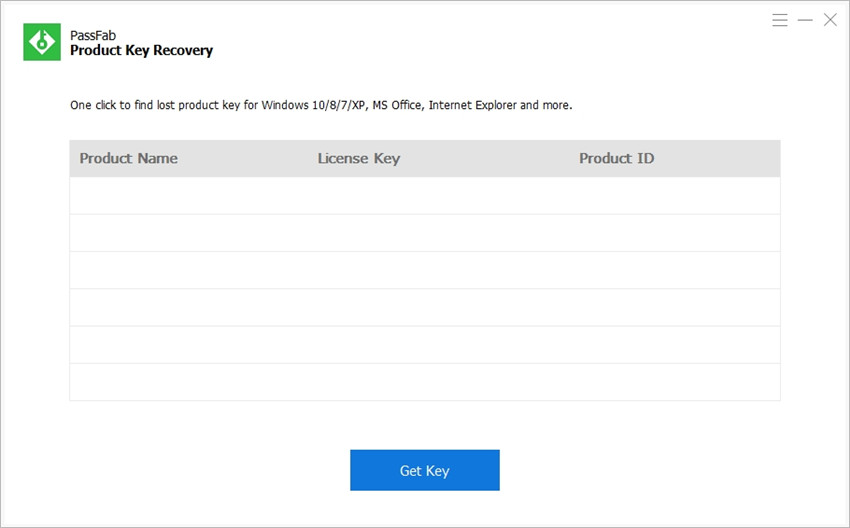
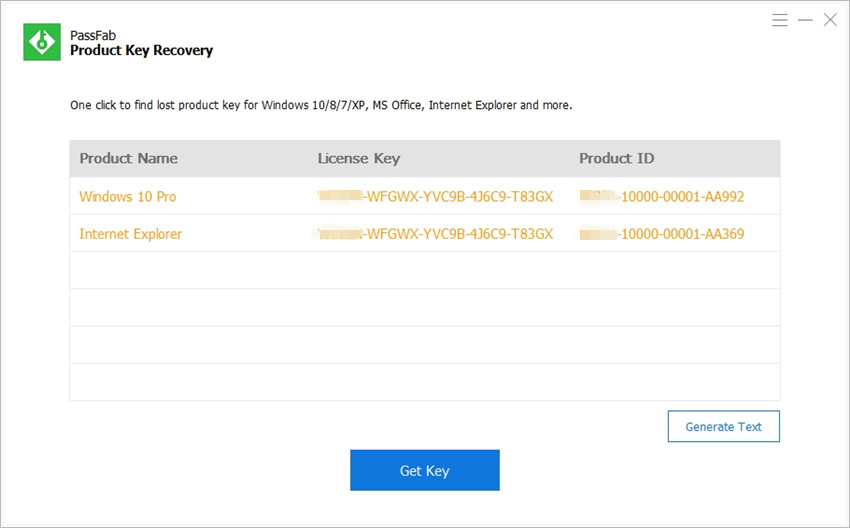
Step 3: Select Get Key and the program will start searching all the product keys that has ever been used on your computer; keys for Windows 10, Microsoft Office, and other licensed software.
Step 4: Select "Generate text" on the right side of the window and it will pop up a window to save all the product key in a .txt file.
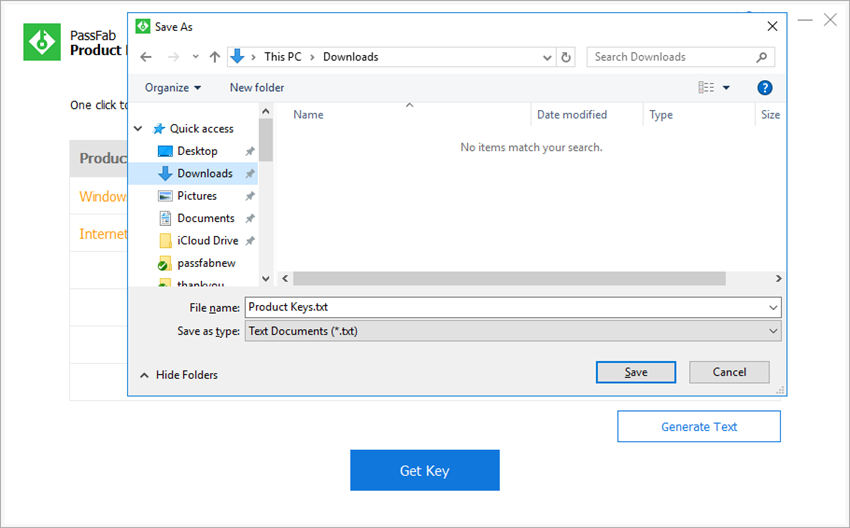
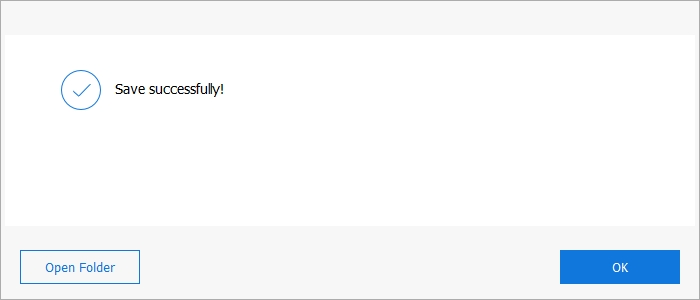
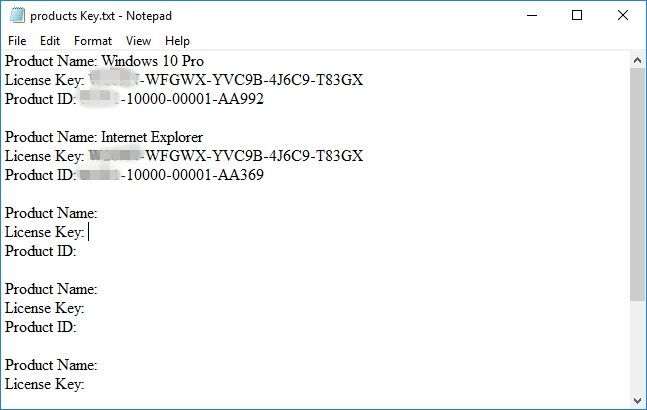
Step 5: After saving it, you can then open the file and copy the product key you need to register your Windows 10.
Summary
If you follow all the steps provided in this article, they will help you get rid of the obsolete Windows Vista on your computer and install the fresh new Windows 10. In other words, they will help upgrade Windows Vista to Windows 10. However, there is no upgrade Vista to Windows 10 free download so you will definitely need a product key. That is why we covered this in the article too, just in case you cannot remember where you kept your product key or you cannot find the disc used when installing it. Use PassFab Product Key Recovery to recover the product key and you can continue your installation without having any more worries.